
The journal
How to finish the back of your embroidery
Choose embroidery backing for its use and materials. Separate hand-work display finishes from machine stabilizer removal, and follow fabric, thread and product care limits.
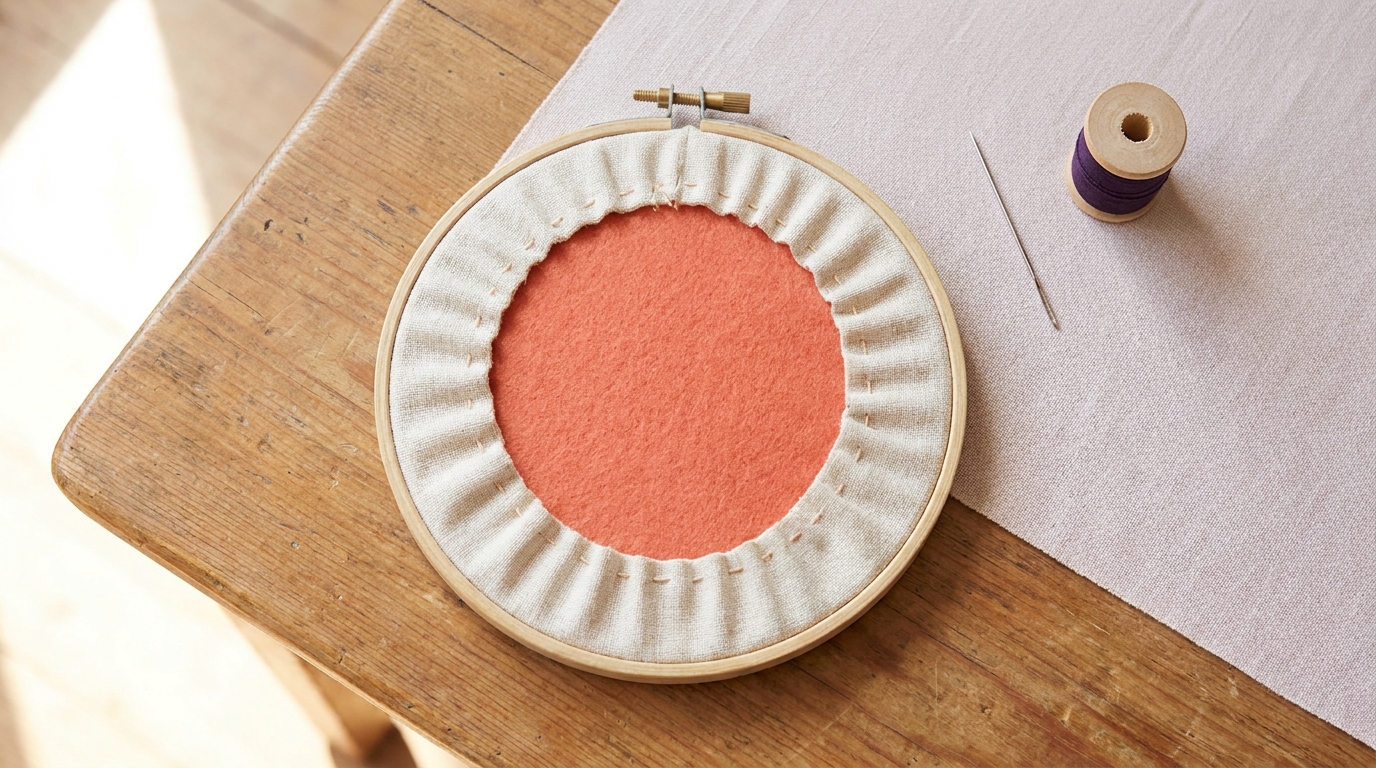
Choose the finish for the embroidery and its use: a display hoop, a framed piece and a washable garment need different treatment. Secure thread ends, then handle any stabilizer according to its product instructions. A backing is optional for display; a garment cover must also suit the fabric, laundering and permitted heat.
Hand embroidery in a display hoop
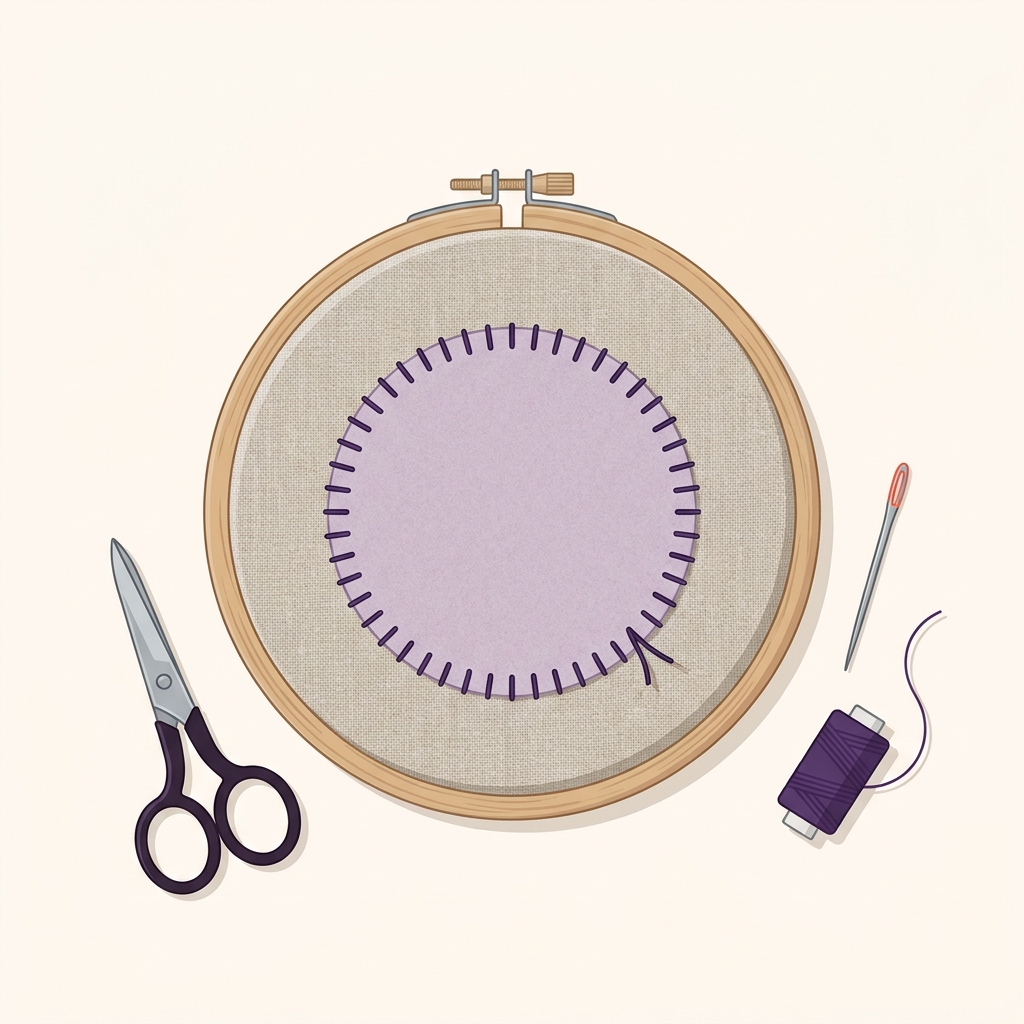
A separate stitched backing can cover the reverse without fusing the embroidery. In Benzie Design’s felt-hoop tutorial, a fitted felt circle is sewn to the exposed felt around the back with blanket or whip stitches. That is a method for the felt construction shown, not an instruction to trim every embroidery fabric flush with its hoop. Choose a finish compatible with your actual fabric and keep the work accessible if it will need reframing.
Machine embroidery: know your stabilizer
Most embroidery uses one of three stabilizer families, and they finish differently:
- Tear‑away: supports stitching during embroidery and is removed by gently tearing it away after stitching. Use more layers for denser designs, and tear layers separately (Pellon FAQ).
- Cut‑away: is trimmed close and left in the project to keep stitches from stretching or sagging over time (Pellon FAQ).
- Wash‑away: is dissolved in water for a no‑show finish. Follow the stabilizer’s removal directions within the fabric and thread care limits; do not increase temperature beyond either limit (Pellon FAQ).
Step‑by‑step: finishing the back on garments and other worn items
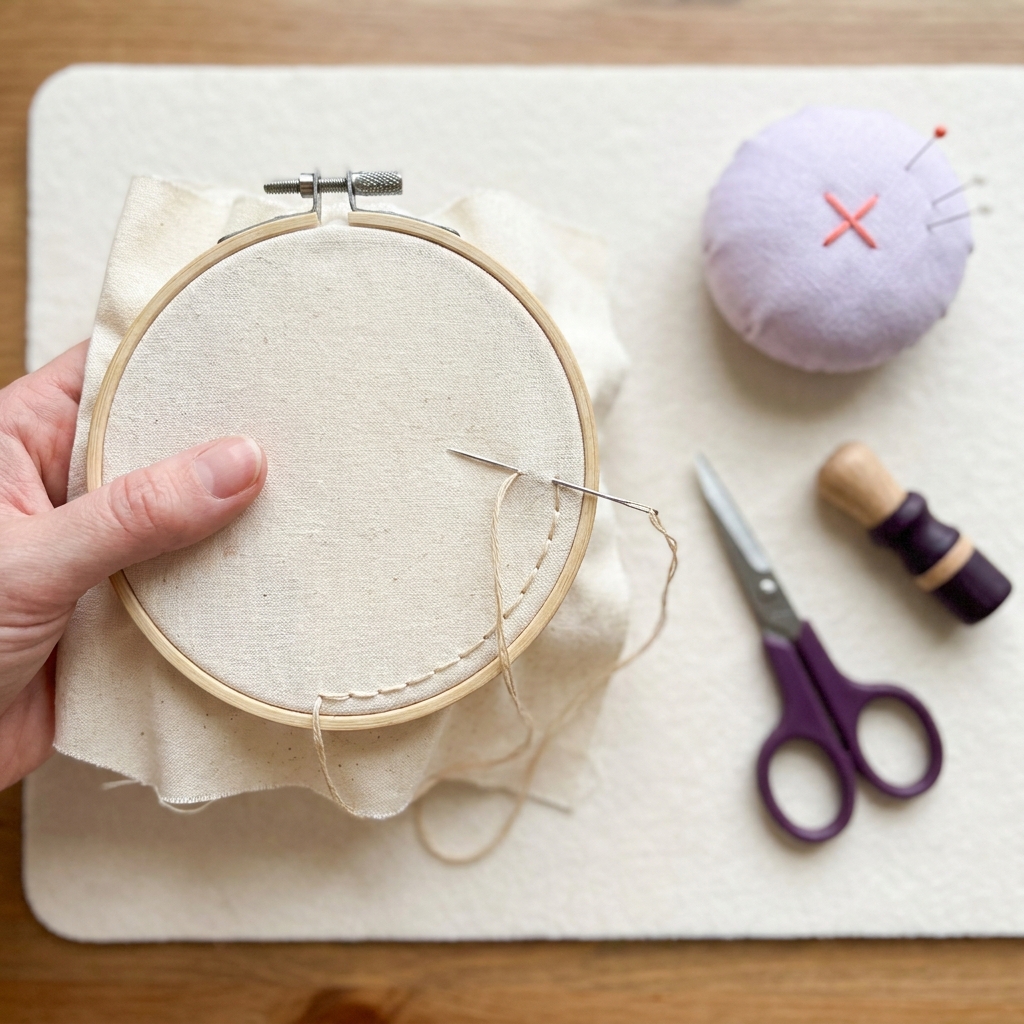
- Remove hoop and any basting box stitches. Lay the piece wrong side up on a firm surface. Support the stitches with one hand and gently tear away excess tear‑away from the back. If you used a water‑soluble topper on the front, remove it per product directions (Sulky machine‑embroidered T‑shirt tips).
- Trim cut‑away neatly. With cut‑away, use small scissors to trim to the product’s recommended margin, keeping scissors clear of stitches and the base fabric and leave the remainder to support the design long‑term (Pellon FAQ).
- Wash out wash‑away (if used). Use the product’s removal method within the embroidered item’s care limits; stop if the fabric or thread cannot tolerate the required treatment (Pellon FAQ).
- Add a soft protective cover when it will touch skin. If the garment tolerates the specified heat, apply a compatible light knit/tricot backing (for example, a soft fusible covering) over the embroidery’s back to prevent irritation. Pink the edges before applying to improve adhesion through wash and wear (Sulky machine‑embroidered T‑shirt tips).
- Mind very lightweight or transparent fabrics. Fusible dots from some cut‑away/backings can show through sheers. Test first; for delicate fabrics, either use water‑soluble stabilizer where feasible or a very light non‑fusible cut‑away carefully trimmed after stitching (Sulky Top Tips).
- Heat test fusibles. Some lightweight nylon/tricot backings need moderate heat and steam; too‑hot irons can distort them. Test on scrap and use a press cloth as needed (Sulky Stabilizer Series Q&A; Pellon FAQ).
If your piece is for display (hoop art or framed)
After removing or trimming stabilizer:
- Leave trimmed cut‑away in place to support stitches and prevent sagging over time on display pieces (Pellon FAQ).
- Optional comfort cover: even for decor items, you can fuse a soft knit/tricot cover over the back to protect thread tails from snagging when handled (Sulky machine‑embroidered T‑shirt tips).
Prefer to hand‑stitch a fabric lining over the back? An invisible hand stitch gives a tidy edge; see our guide to the difference between two common seam‑closing stitches in Ladder stitch vs slip stitch.
Quick thread‑tail tidy
Before adding any cover, secure and trim thread tails on the back so nothing unravels during wear or washing. If you need a reliable way to tie off by hand, see How do you tie a stitch knot? Clear steps that hold.
Put this into practice
Decide whether the piece will be framed, displayed from both sides or washed before choosing a backing finish. Test the chosen finish on a small area and keep it compatible with the fabric and threads.
Embroidery back‑finishing checklist
Helpful FAQs
Do I have to remove all cut‑away from the back?
No. Cut‑away is designed to be trimmed and left in to prevent stretching or sagging stitches; only trim to the recommended margin around the design (Pellon FAQ).
My wash‑away didn’t fully dissolve. What now?
Check the stabilizer instructions and the fabric and thread care limits. Use only a compatible removal method; do not assume hotter water or rubbing is safe (Pellon FAQ).
Is a fusible knit cover OK on the back?
Yes. A soft fusible backing over the embroidery’s back can cover rough stitches; check comfort and compatibility on the actual garment; pink the edges before fusing to improve adhesion through wash and stretch (Sulky machine‑embroidered T‑shirt tips). Always test iron temperature, especially with lightweight nylon/tricot backings (Sulky Stabilizer Series Q&A).

Sources and further reading
- Pellon FAQ: stabilizer types and wash‑away removal
- Sulky: Machine‑embroidered T‑shirt tips (removing stabilizer and adding soft backing)
- Sulky: Machine Embroidery Top Tips (lightweight/transparent fabrics)
- Sulky: Stabilizer Series Q&A (heat caution for fusibles)
- Benzie Design: backing a felt embroidery hoop