Choose a surface before a color
Begin with a specific object, such as a storage label on a compatible rigid container. Write down its material, surface finish and intended cleaning routine. “Permanent” or “removable” describes a product category; it does not confirm suitability for every painted, textured or flexible surface. Keep decorative labeling separate from any use that needs a food-contact, heat or safety certification.
Draw the detail at its real size
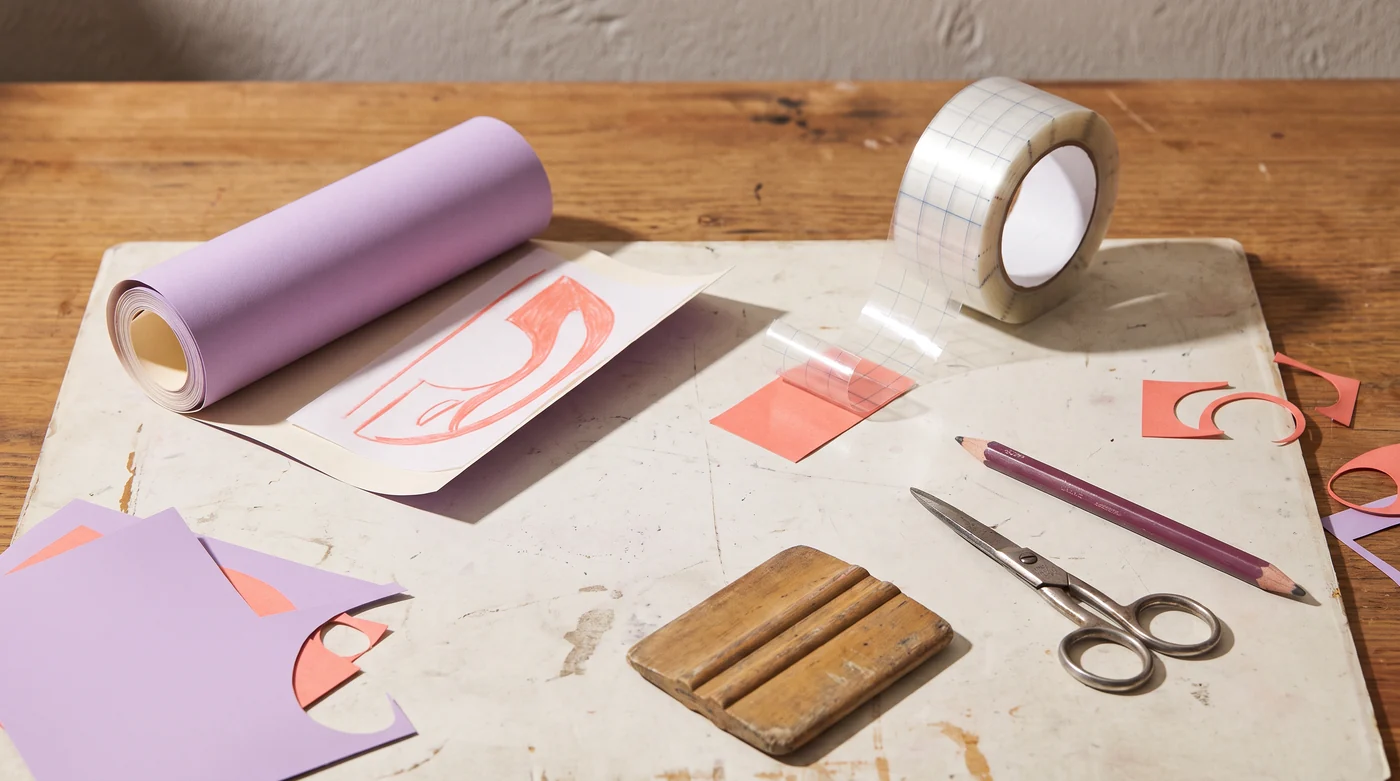
A design that looks clear while zoomed in can contain tiny islands or narrow strokes at its final size. Print or view it at the intended dimensions, then identify the smallest piece you would need to weed and transfer. The trial should include that detail. Use the material setting for the exact machine and product, and inspect a small actual-material cut before committing the sheet.
Cricut: choosing material settings ↗ — A small test cut and the exact machine/material setting are part of the manufacturer process.
Match the transfer tape to the vinyl
The transfer film temporarily holds the cut pieces in position. It needs to lift the design and then release it onto the suitable surface. Cricut distinguishes tape for smooth vinyl from stronger-grip tape for certain textured finishes, and warns that its StrongGrip tape is too strong for other vinyl types. Record the tape as part of the material combination rather than buying the strongest option by default.
Cricut: transfer tape instructions ↗ — Transfer-tape grip is matched to the vinyl finish; stronger is not always appropriate.
Finish the sample before multiplying the design
A clean cut is only one observation. Record how the pieces weeded, whether their positions stayed aligned during transfer and what happened when the carrier was removed under its instructions. Follow the selected product’s application and care directions before judging the final result. If you give the object away, include the relevant care information without promising durability that has not been established.
| Part of the project | Keep with the sample |
|---|---|
| Object | Surface material, finish and intended use. |
| Design | Final dimensions and the difficult small detail. |
| Transfer | Exact vinyl and transfer-tape variants. |
| Outcome | Cut, weeding, transfer and care observations separately. |
Keep these details together.
- Material and surface compatibility
- Transfer method
- Care instructions and a sample