Start with the object in your hand
A greeting card has a closed size, a fold and an opening direction. A layered ornament has a front, a back and an attachment point. Draw those features before choosing a sheet. Add any envelope or packaging requirement now: an elaborate embellishment can change the space the finished object needs even when the flat card fits comfortably.
Keep finished size and blank size separate
A simple card folded once uses two panels. If each finished panel is 105 × 148 mm and the fold runs along the 148 mm side, the unfolded blank is 210 × 148 mm. A box, pocket or gatefold uses a different layout, with its own tabs and folds. Give each cut line and fold line a different mark on your sketch so the construction remains clear when the decorative layer is added.
Let the stock and process meet in a sample
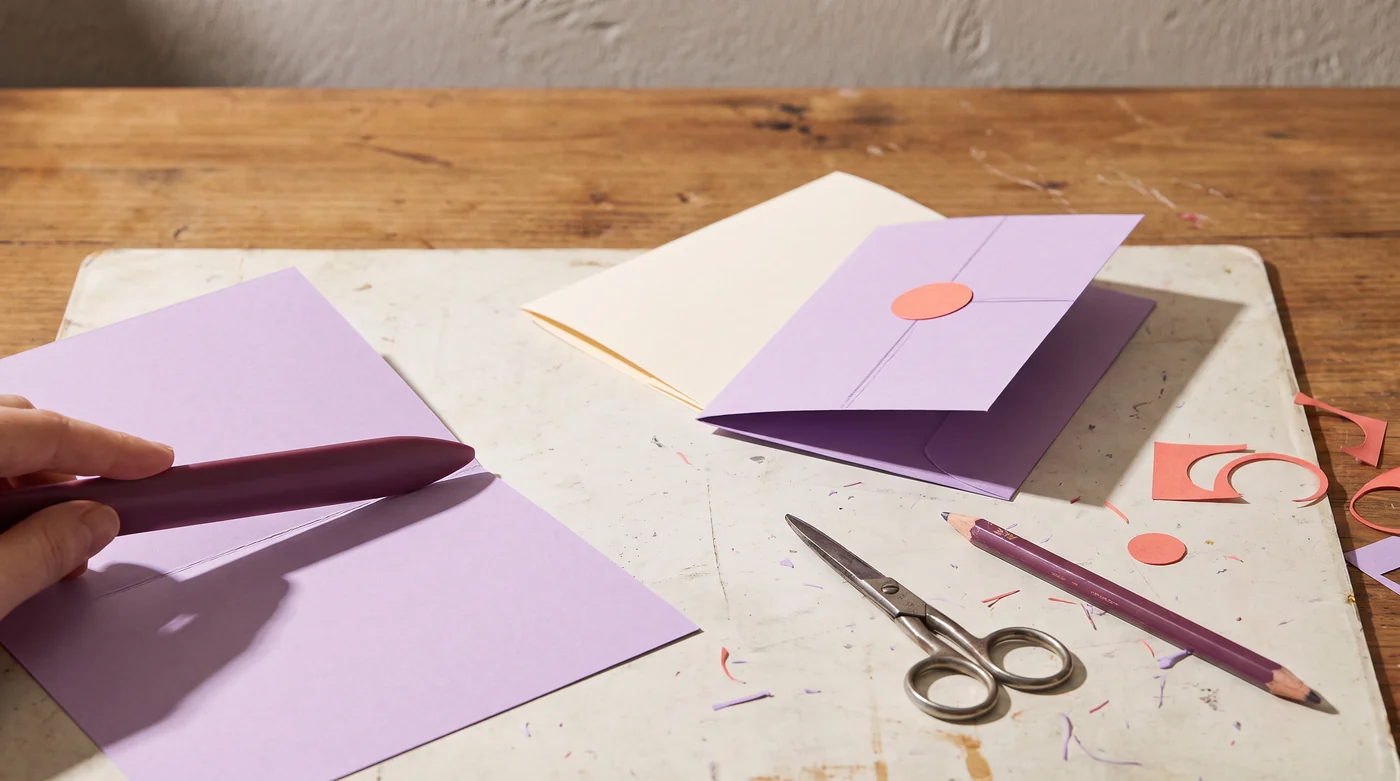
A color name does not describe the stock’s thickness, coating or fold behavior. Make a small sample with the actual material, decoration and intended fold. Check whether the print, cut edge and crease look suitable together. For a Cricut scoring workflow, the manufacturer distinguishes scoring tools and compatible machines; its wheel tools require a Maker machine and QuickSwap housing. That is a compatibility requirement, not a reason every card needs a machine.
Cricut: scoring wheel tools ↗ — Manufacturer guidance for Maker-compatible scoring wheels and their required housing.
Plan the batch after the first assembly
Use the sheet planner with the actual usable area and the blank’s bounding rectangle. Preserve the direction of a print or fold where it matters, and reserve a sample before counting the final cards. Make a short assembly order: cut, score where required, fold, decorate, dry or set under the adhesive instructions, then package. Keep the chosen stock and adhesive identifiable so another batch starts from a useful record.
Keep these details together.
- Sheet dimensions and usable area
- Scoring and cutting requirements
- A small fold or cut sample