Choose the closed size and opening direction
Write the card’s closed width and height, then draw an arrow showing how it opens. A tall side-fold and a top-fold card can share a closed size while using different blank orientations. Add a small front-face mark so the artwork stays on the intended panel.
Double the dimension across the fold
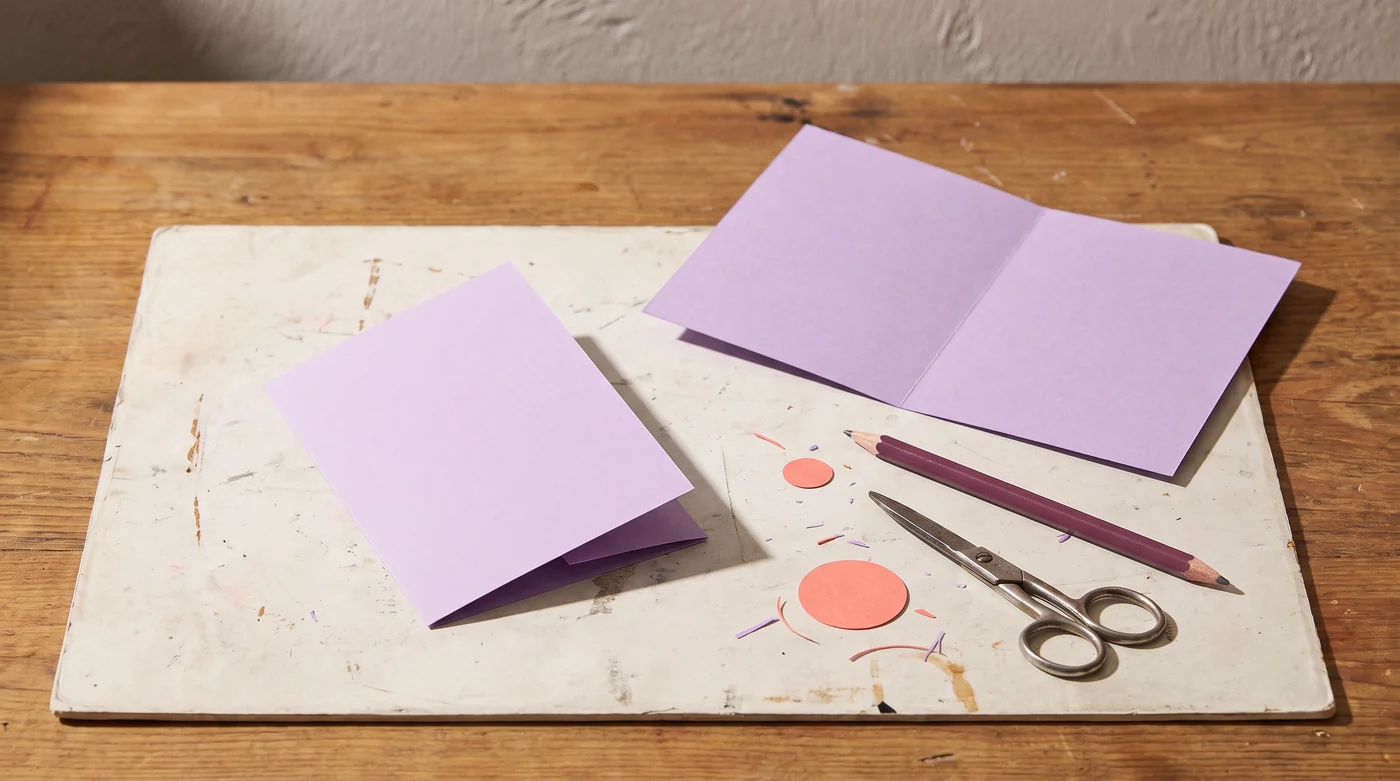
For a basic two-panel card closing to 105 mm wide by 148 mm high, a side fold uses a 210 × 148 mm blank, with the fold 105 mm from the short edge. A top fold uses a 105 × 296 mm blank, with the fold halfway along the longer dimension. These are geometric starting points; the chosen stock and construction may need additional consideration.
Make a fold sample with the actual stock
Use the intended material and check the crease, panel alignment and decoration together. If a machine scores the fold, check its supported scoring tool and the stock-specific process. Cricut’s scoring-wheel instructions distinguish tools and folding directions for their own system; do not transfer one setting or orientation to unrelated equipment.
Cricut: scoring wheel tools ↗ — Manufacturer guidance for Maker-compatible scoring wheels and their required housing.
Count blanks and check packaging separately
Enter the unfolded bounding rectangle in the sheet planner and preserve the required direction of a print or finish. Reserve one complete assembly sample. Then check the real finished card against the envelope, including any raised decoration. A sheet layout can tell you how rectangles fit; it cannot confirm postal thickness, envelope clearance or the quality of the fold.
Record material brand and variant, machine and tool, settings, sample photographs and the finished result. Decorative makes belong here; repairs and installed fixtures belong to Home by Doing.