Choose a pattern with a visible construction
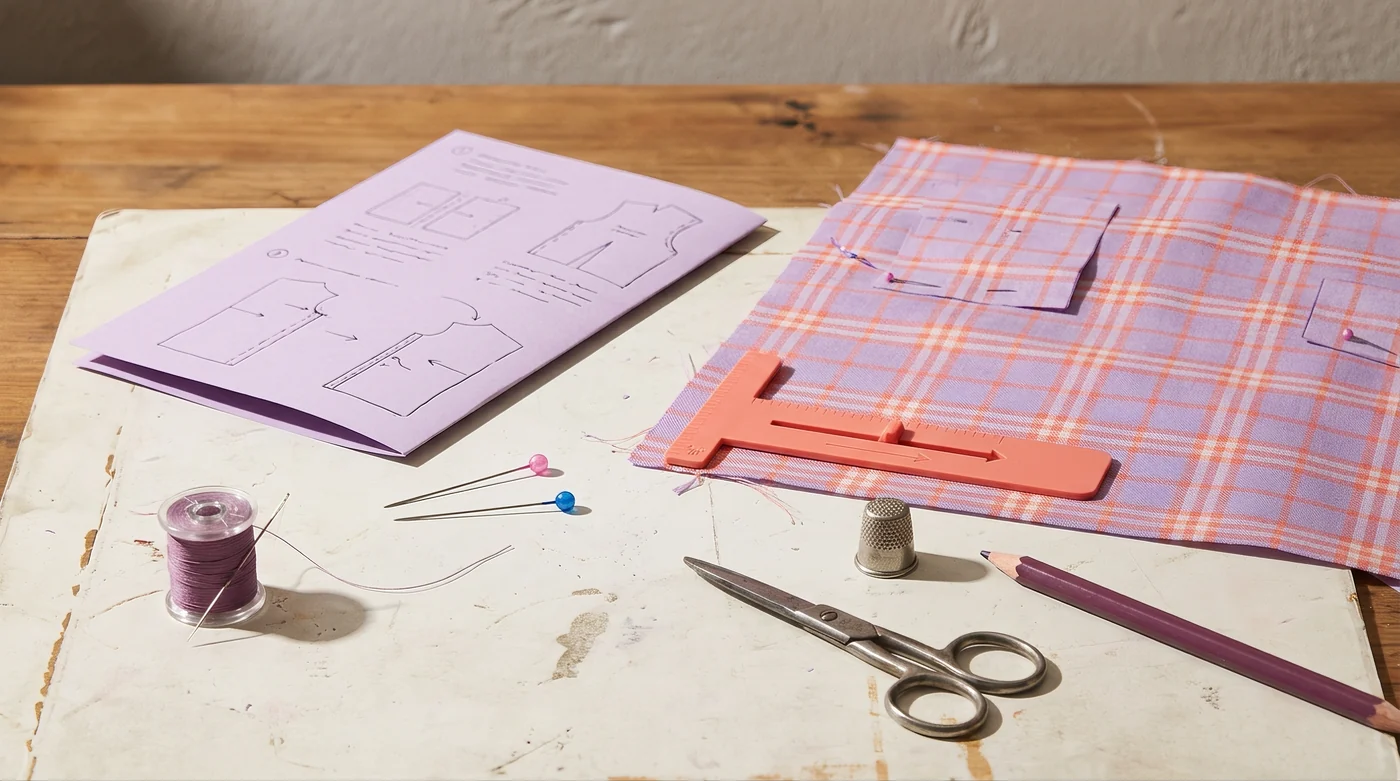
Start with an object whose pieces and seams you can describe on one page. Record whether the pattern expects woven or knit fabric, how many layers each seam joins and how the object is finished. A simple shape is easier to inspect when the fabric suits the pattern. Keep an appealing fabric print as a design choice, separate from whether that fabric belongs in the construction.
Find out whether the seam allowance is included
The cut edge and the stitched line are different boundaries. Read the pattern’s allowance statement before changing a piece. Adding an allowance to a pattern that already includes one changes the dimensions; forgetting a required allowance makes the intended stitched area smaller. Mark the grainline, fold line and any notches independently. Our rectangular sheet planner cannot replace a pattern layout that has directional or matching requirements.
Treat needle, thread and fabric as a combination
Record the needle system your machine requires, then select the type and size for the actual fabric and thread. SINGER’s guide distinguishes needle points and sizes for different material constructions. The appropriate choice still belongs to your machine’s instructions. Use offcuts representing the same layers as the project, and follow the machine manual when fitting or changing a needle.
SINGER: choosing machine needles ↗ — Needle type and size depend on the fabric and thread; confirm the system required by your own machine.
Keep the practice seam with the pattern
Make the trial large enough to see the stitching and how the layers lie after the pattern’s specified finishing steps. Inspect both faces, the seam position and any gathering or puckering. Record the settings you actually used, without claiming one sample establishes strength or long-term wear. If several variables change, keep separate samples; otherwise the new needle, different thread and revised setting become impossible to distinguish.
Keep these details together.
- Pattern dimensions and seam allowance
- Fabric width and direction
- Needle, thread and practice sample