Draw the stitched boundary first
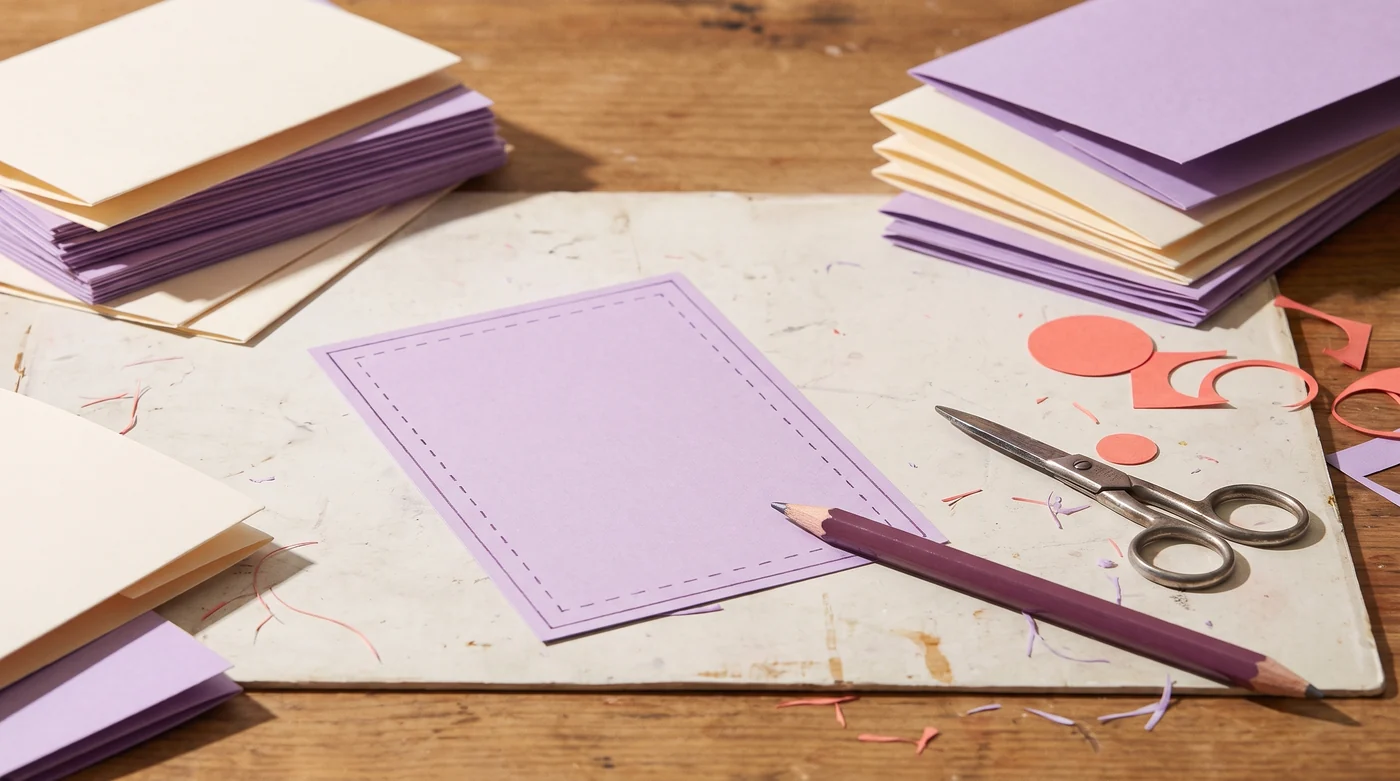
For a simple flat example, sketch the rectangle bounded by the intended seam lines. Label its width and height. Then draw a second outline outside it for the cut edge. This is a way to understand the geometry; the actual pattern still controls how the object is cut and assembled.
Add only the allowance the pattern asks for
With the same allowance on two opposite sides, the cut dimension increases by twice that allowance. For a seam-line rectangle of 200 × 150 mm and 10 mm on all four edges, the cut size is 220 × 170 mm. If the pattern already includes the allowance, adding another 10 mm changes the piece instead of correcting it.
| Dimension | Calculation |
|---|---|
| Cut width | 200 + 10 + 10 = 220 mm |
| Cut height | 150 + 10 + 10 = 170 mm |
| Area between seam lines | 200 × 150 = 30,000 mm² |
| Cut area | 220 × 170 = 37,400 mm² |
Keep other construction details separate
A fold, turned hem, gusset, lining or closure can require a different piece or allowance. Do not put every extra dimension under the single label seam allowance. Mark each construction feature on the sketch and follow the pattern’s grain and placement instructions. A bounding rectangle is useful for planning material, but it does not define the finished object.
Check the physical sample
Use the chosen pattern and a representative scrap to compare cut and stitched dimensions. Record what was actually measured and at which stage. A sample helps expose a misunderstanding before the final material is used; it does not establish that an altered pattern will fit or perform as the original designer intended.
Record material brand and variant, machine and tool, settings, sample photographs and the finished result. Decorative makes belong here; repairs and installed fixtures belong to Home by Doing.