Decide whether the stitch is made by hand or machine
Hand embroidery and machine embroidery share fabric and thread, but their setup is different. Choose the method before buying the hoop or interpreting a design file. For hand work, map the stitches you want to practice. For machine work, confirm the design format, stitch area and equipment compatibility from the exact model documentation. A photograph of a finished motif does not supply those production details.
Make the design small enough to study
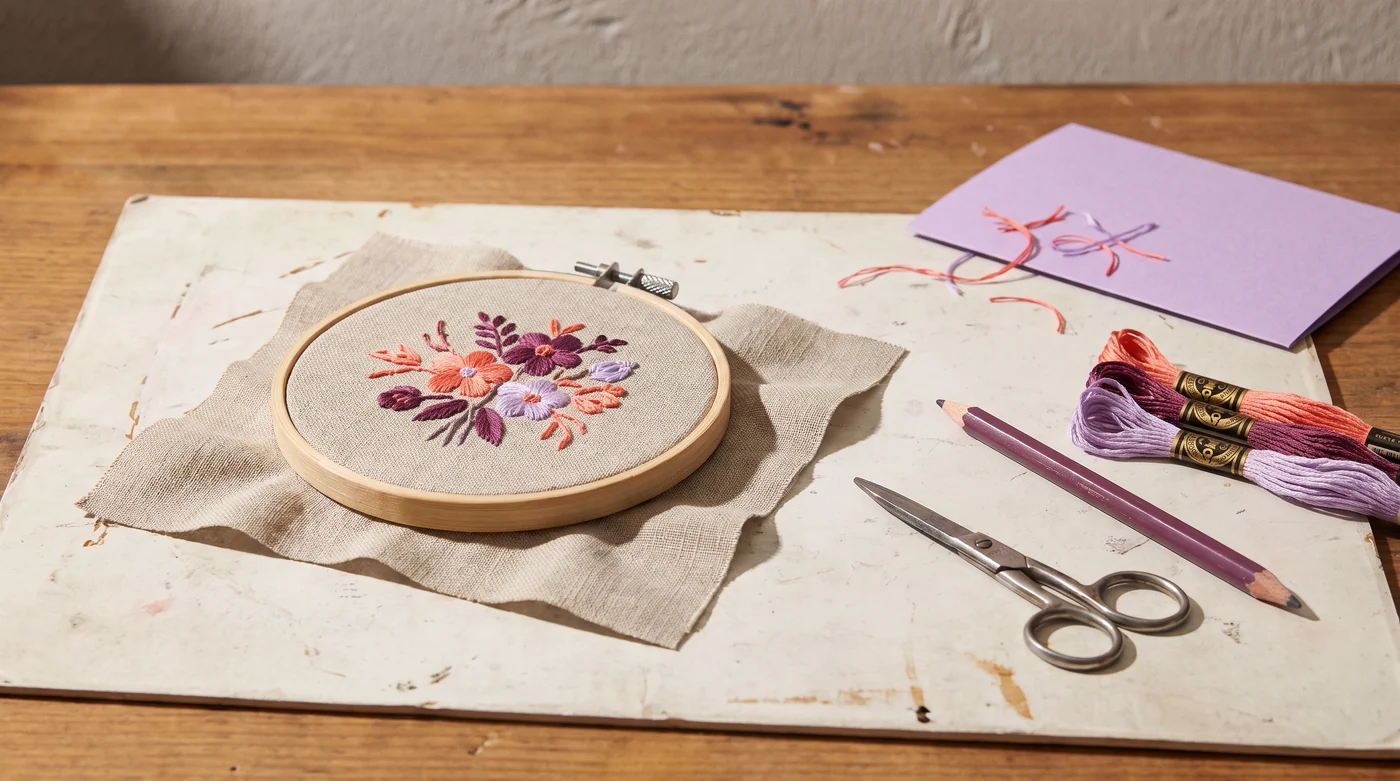
Choose one line, filled area or repeated motif and view it at the planned finished scale. Record the fabric and thread, including the number of strands where relevant to hand stitching. Include a little unstitched fabric around the sample so its behavior is visible. Aim for a clear observation: the edge stayed flat, a line became crowded, or the background puckered. Avoid assigning a cause before comparing the setup.
Distinguish backing from the visible fabric
Machine embroidery may need a supporting backing and, for some fabrics, a topping. Brother describes different stabilizer categories rather than one universal sheet. Check the fabric, design and manufacturer process together, including how any temporary support is removed. A water-soluble material also raises a practical question: is the fabric and finished object compatible with the specified removal method?
Brother: embroidery stabilizers and backing ↗ — Manufacturer guidance on backing and topping for machine embroidery. Hand stitching is a separate process.
Inspect the finish after its intended handling
Look at the sample beyond the moment it is in the hoop. Follow the chosen method’s instructions for releasing, finishing and caring for the work, then compare its shape and surface. Keep the front and back photographs with the sample record. For a future gift, document only the handling you actually performed; an attractive decorative study is not a tested claim about laundering or abrasion.
| Record | Why it belongs in the note |
|---|---|
| Method and scale | Hand stitches and machine design files have different setup needs. |
| Fabric and thread | A later comparison needs the same materials identified. |
| Support | Hoop, backing or topping where the method requires it. |
| Finish | What happened after the specified removal and care steps. |
Keep these details together.
- Fabric and support requirements
- Thread and needle choice
- Sample tension and finish