
The journal
Is interfacing the same as lining?
Interfacing supports selected areas; lining forms a separate inner layer. Choose each for its job and follow the instructions for the actual fusible or sew-in construction.
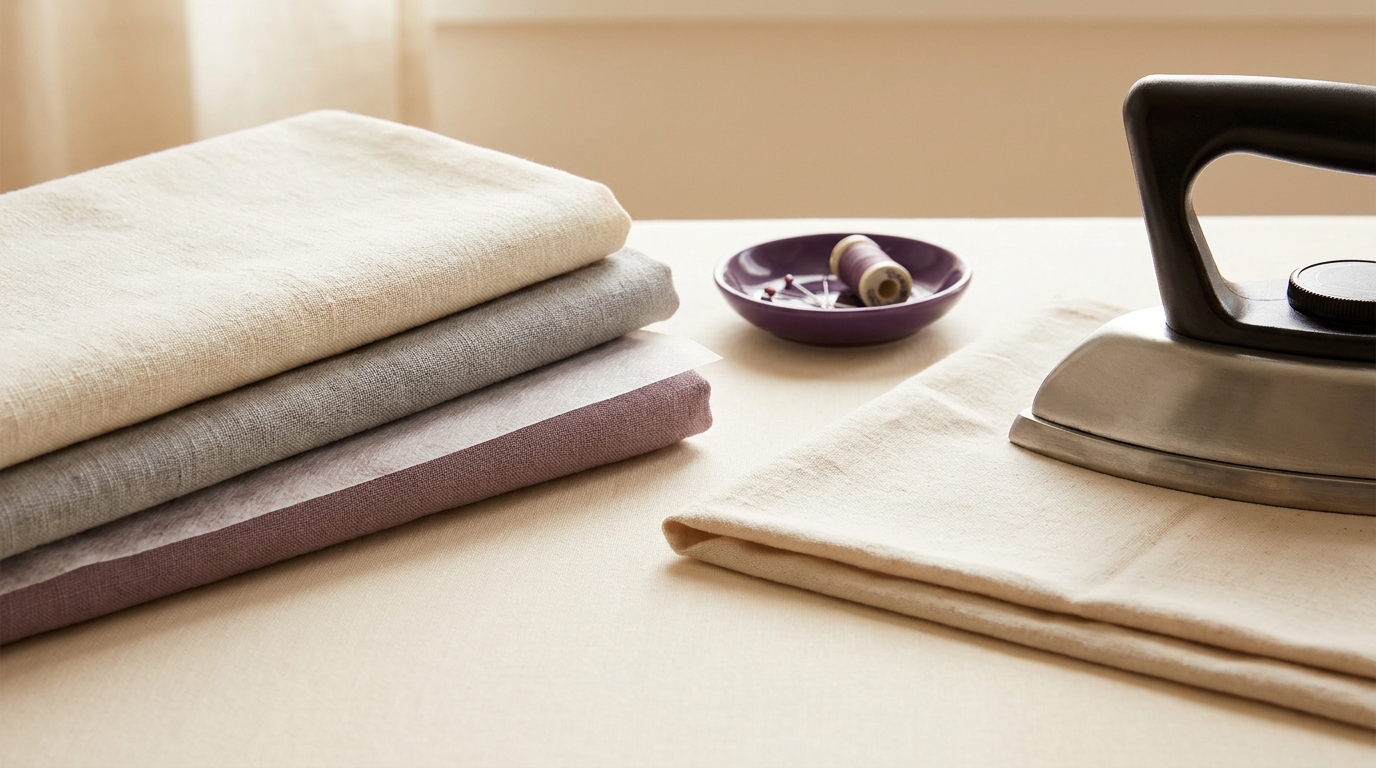
No. Interfacing is not the same as lining. Woven interfacing is a support layer that’s applied to the wrong side of your fabric to add structure and stability, while a lining is sewn as a separate inner layer. Interfacing makers describe it as material that provides structure and support where strengthening is needed in apparel fabrics, and their fusible versions are bonded using their specified iron settings rather than constructed as a second garment layer [Pellon FAQ].
Interfacing also comes in nonwoven and knit forms, and in sew-in versions with no fusible adhesive. The fusing steps below apply only to a compatible fusible product; they do not replace its instructions.
What woven interfacing does
Manufacturers classify apparel interfacings as products used to reinforce fashion fabrics in areas that need support [Pellon FAQ]. Fusible woven interfacings carry an adhesive on one side (either visible as rough dots or as a smooth shiny film), which bonds to your fabric when you apply the right combination of heat, steam, time and pressure [Pellon FAQ]. Key points:
- Purpose: add body and stability to fabric pieces that need strengthening [Pellon FAQ].
- Fusible side: identify it by the dot adhesive (rough) or spray adhesive (shiny) side before fusing; test a small scrap if unsure [Pellon FAQ].
- Bonding requirements: to get a permanent bond you need the exact product’s specified heat, time, pressure and moisture conditions from a household iron or an adjustable steam press; a handheld garment steamer isn’t suitable [Pellon FAQ].
- Press cloth: use a lightweight press cloth to protect your iron and help manage steam during fusing [Pellon FAQ].
- Pre-shrinking: some cotton fusible interfacings, such as cotton woven types like SF101, should be pre-shrunk by soaking and air drying before use if the instructions specify it [Pellon FAQ].
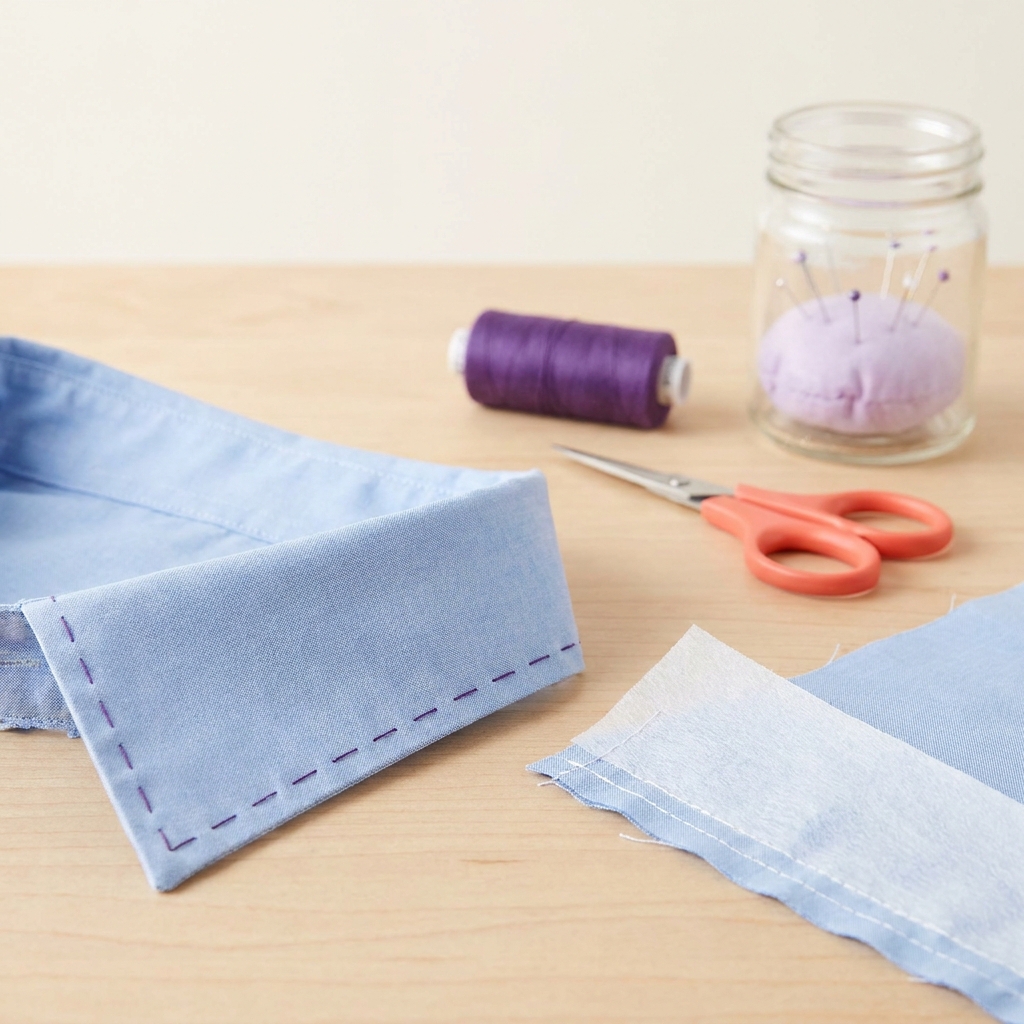
How that differs from a lining
A lining is constructed as a separate inner layer that is not fused to the fashion fabric. By contrast, woven interfacing is attached to the wrong side of the fashion fabric (or sewn in) to change how that piece behaves under sewing and wear. Interfacing makers treat these as different categories with different purposes: interfacing for structure and support, and other materials for interior finishing [Pellon FAQ].
When to choose woven interfacing instead of a lining
- Choose woven interfacing when you need a fabric piece to be more stable or crisp before construction (for example, where a pattern calls for interfacing). Its role is structural, and it bonds or is stitched directly to the fabric piece [Pellon FAQ].
- Choose a lining when you want a separate interior layer for coverage or a clean inside finish. That layer is assembled as part of garment construction, not fused.
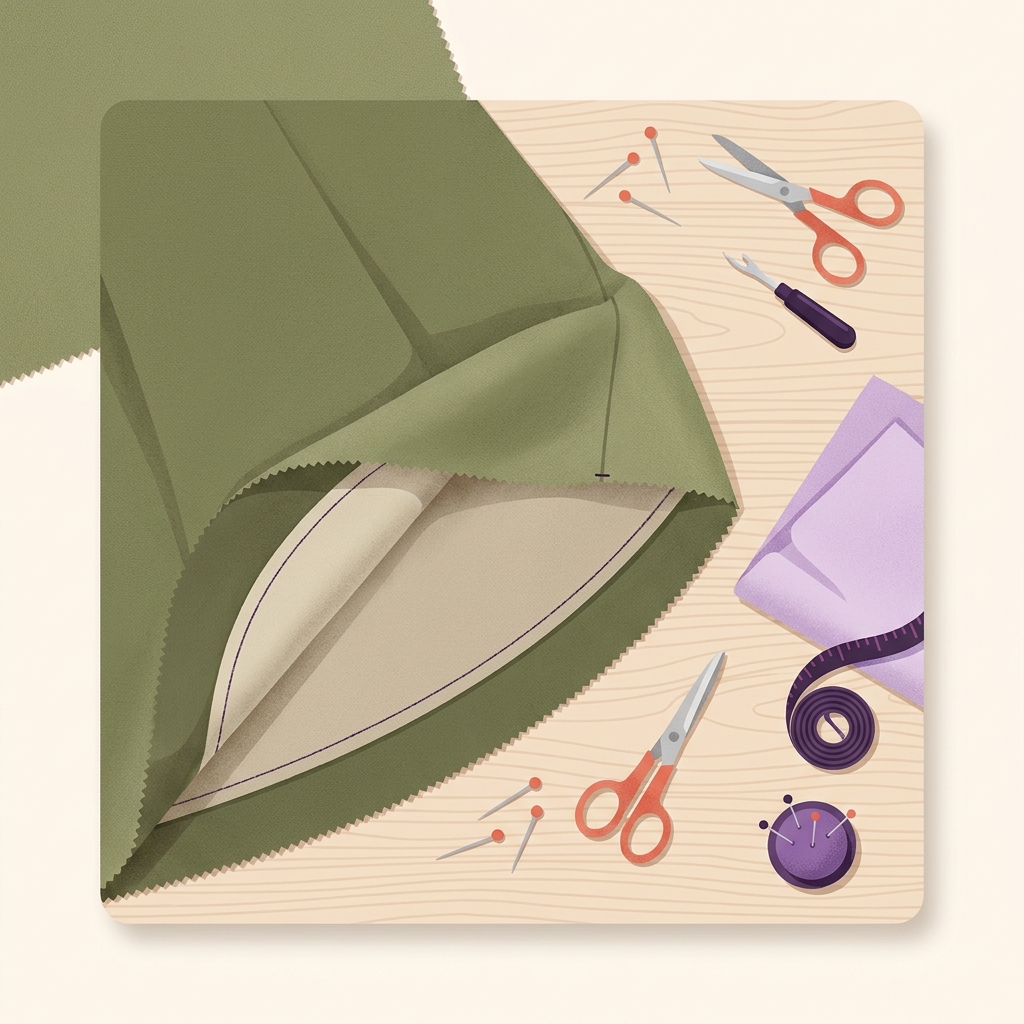
Woven interfacing: practical fusing steps
Follow your product’s instructions; in general, fusibles rely on the same fundamentals from manufacturers:
- Test on scraps. Confirm which side is fusible (rough dots or shiny side), and check your fabric tolerates the heat and steam settings [Pellon FAQ].
- Pre-shrink if directed. Some cotton fusible interfacings are pre-shrunk by soaking about 10 minutes and air drying; don’t machine agitate or dry them alone, which can loosen adhesive [Pellon FAQ].
- Set your iron. Use a household iron or an adjustable steam press so you can deliver heat, steam, time and pressure; a handheld steamer won’t create a reliable bond [Pellon FAQ].
- Use a press cloth. Place a lightweight cotton press cloth over the fabric-interfacing stack to protect your iron and help manage steam [Pellon FAQ].
- Press, don’t slide. Apply the iron in overlapping presses for the time your product specifies. Lifting and setting the iron maintains alignment and pressure [Pellon FAQ].
- Let it cool flat. Allow the piece to cool on a flat surface so the adhesive sets fully.
Related reading on Made in Steps
- Attach fusible interfacing properly: clear steps
- How to choose interfacing: woven, nonwoven, fusible or sew-in
Put this into practice
Read the pattern’s separate requirements for lining and interfacing before cutting either. Label the pieces by purpose so a fabric that covers the inside is not substituted for a layer intended to add support.
Before you fuse woven interfacing
Quick FAQ
Can I fuse interfacing with a handheld garment steamer?
No. Manufacturers specify a standard household iron or an adjustable steam press so you can control heat, steam, time and pressure for a permanent bond [Pellon FAQ].
Which side of my fusible is the adhesive?
Look for the rough dotted adhesive on one side, or a smooth shiny adhesive film; if unsure, test a small scrap between paper towels or fabric before fusing your project [Pellon FAQ].

If you are comparing bedding fabrics for a project, Talk About Sleep explains seersucker. Fabric choice is a different decision from whether the pattern needs lining or support. What is a seersucker fabric?.