
The journal
How do you use markers in knitting?
Place and slip knitting stitch markers, distinguish ring and removable types, and practise with a simple counted swatch.
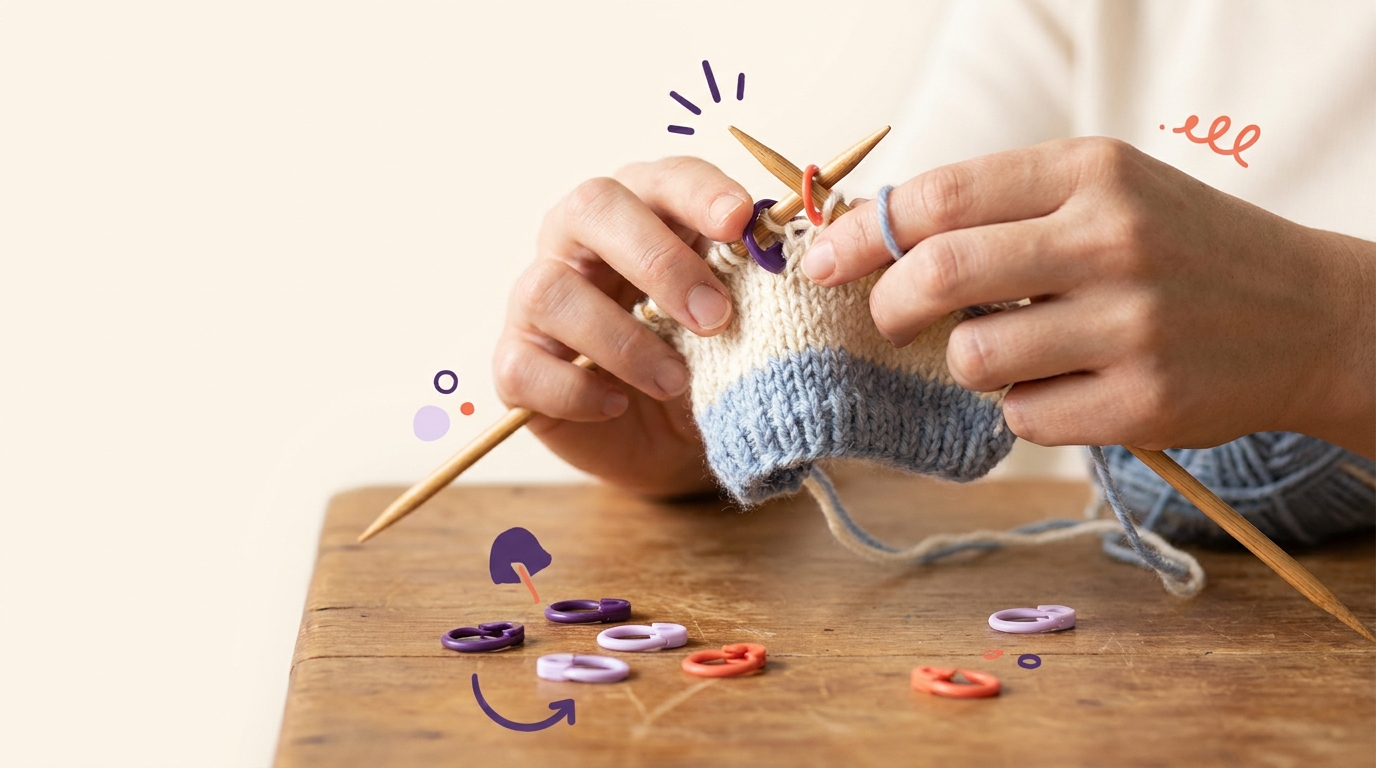
In knitting, a ring marker usually sits on the needle between two stitches. Place it where the pattern asks, then transfer it from one needle to the other when you reach it. You do not knit or purl the marker. A removable marker can instead clip into the fabric to record a particular stitch or row.
Read the marker instructions first
Quince & Co.’s stitch-marker guide explains the common directions: PM means place marker, and SM or SL M means slip marker. In the usual right-handed working arrangement, PM puts a marker onto the right needle; SM transfers it from the left needle to the right before you continue. Read the pattern’s own abbreviation key and any directions for removing or moving a marker.
The marker is a position cue, not an extra stitch. If a pattern says to knit five, slip the marker and knit two together, work five stitches, move only the marker across, then make the stated decrease. Keep the yarn ready for the next actual stitch rather than wrapping it around the marker.
Choose a marker for the job
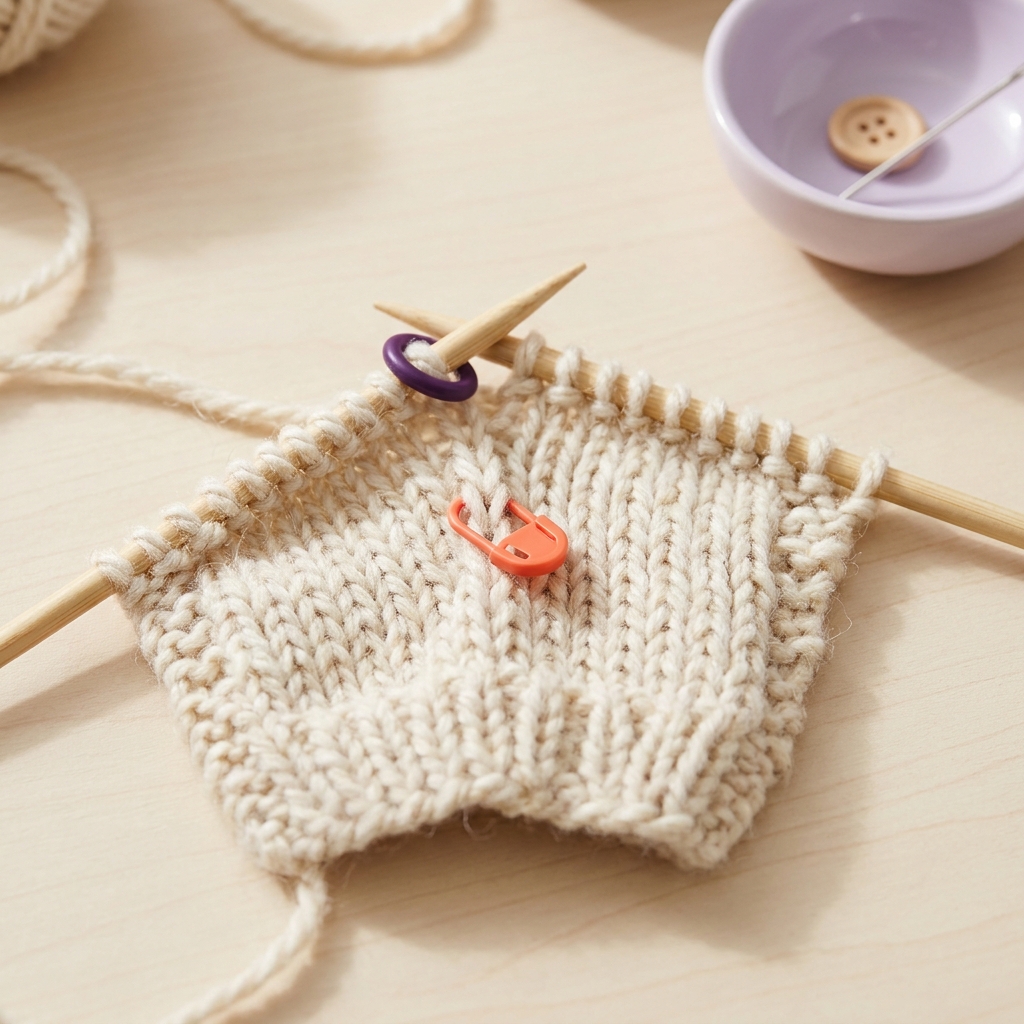
A closed ring needs to fit over the needle. It is useful for boundaries that you will reach again as you knit. A smooth, suitably sized ring should move freely without being so bulky that it interferes with neighbouring stitches.
A locking or removable marker opens, so it can sit between stitches on a needle or clip into an existing stitch. Craftsy’s knitting-marker tutorial describes both types and several uses, including marking round starts, repeat boundaries and reference points. Do not substitute a closed ring where the instructions require a marker that can be opened after it is attached to the fabric.
Practise on a simple swatch
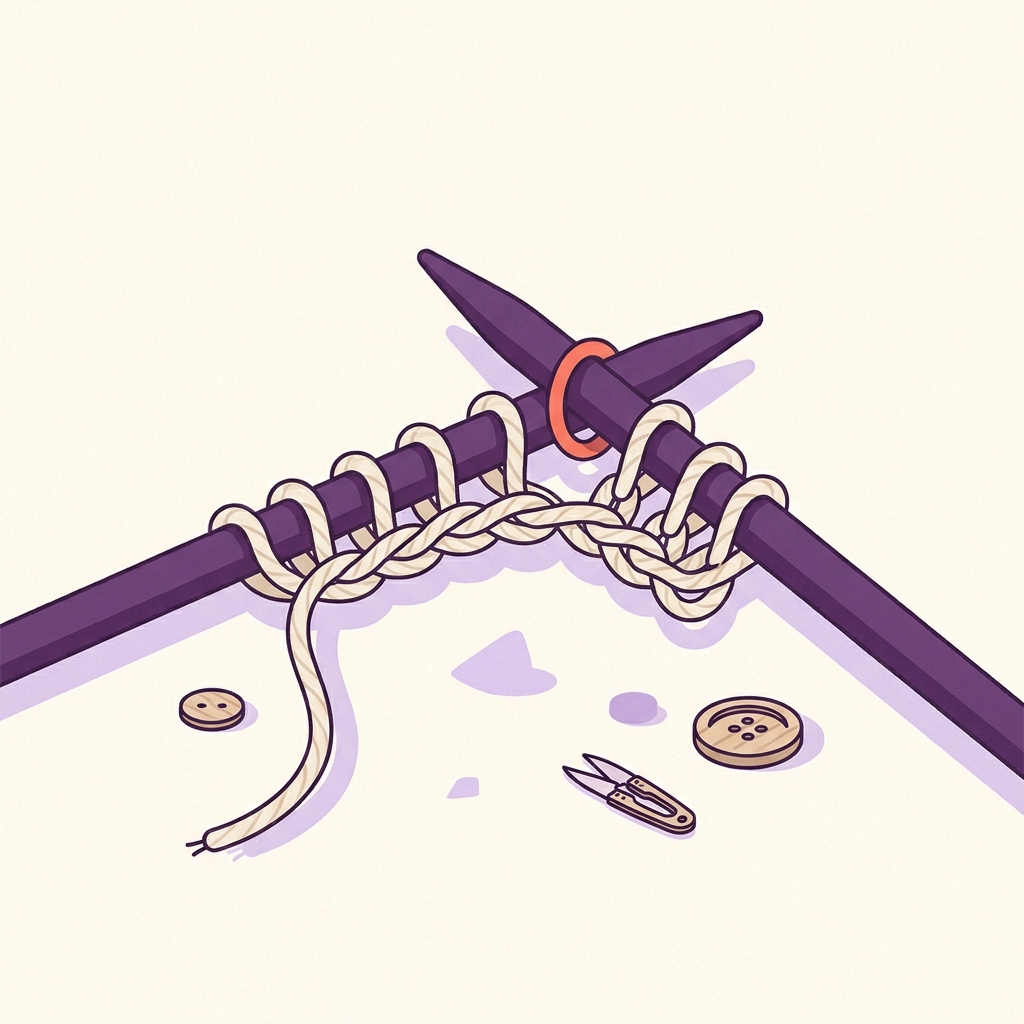
For an illustrative exercise, cast on 24 stitches. On the next row, work eight stitches, place a ring, work eight, place another ring, then work the final eight. You now have three groups of eight; the two markers do not increase the stitch count.
On the following row, work to each marker, slip it onto the working needle, and continue with the next stitch. Count each group separately if you need to check the total. This exercise demonstrates the transfer; it is not a garment pattern or an instruction to insert markers into every eight stitches of another project.
Use markers where they answer a question
At the start of a circular round, a marker helps identify the boundary between the final and first stitches. Across a lace or colourwork row, markers can separate repeats so an unexpected stitch count is easier to locate. A removable marker in the fabric can record the row from which a length is measured.
Shaping can change the number of stitches between markers. Follow the pattern rather than moving a marker just to restore the old count. If you lose track, stop and compare the stitches and instructions before continuing; a marker records a position but does not verify the knitting for you.
Finish and store the work
Check that the marker cannot slide off a needle tip when you put the project down. Remove or reposition it when the pattern says, and take out temporary markers when their job is finished. If it catches yarn or leaves an obvious gap, try a smoother or lighter marker on a swatch.
Crochet usually attaches a removable marker directly to a completed stitch rather than slipping a ring between needles. That is a different method; see the crochet stitch-marker guide if you are working with a hook.
Knitting marker practice checklist

Related guides
Optional equipment for this guide
Choose a marker that fits the job. A removable marker works in the fabric; a marker used on a knitting needle must also fit that needle.
As an Amazon Associate I earn from qualifying purchases. These are researched options, not hands-on test results. Check the exact size or model, current price and availability on Amazon.
| Product option | Fit and limits to check | Retailer |
|---|---|---|
| Product imageClover 353 locking stitch markers, 20-pack | Removable locking markers for the stitch or row positions in your pattern. Close the latch and choose a size that will not stretch the yarn. For a between-stitch marker, verify that the marker slides freely on the actual needle; do not knit the marker. | View on Amazon |