
The journal
What is the purpose of stitch markers in crochet?
Why crochet stitch markers matter and how to place and move them in rounds and rows, with a quick example and checklist.
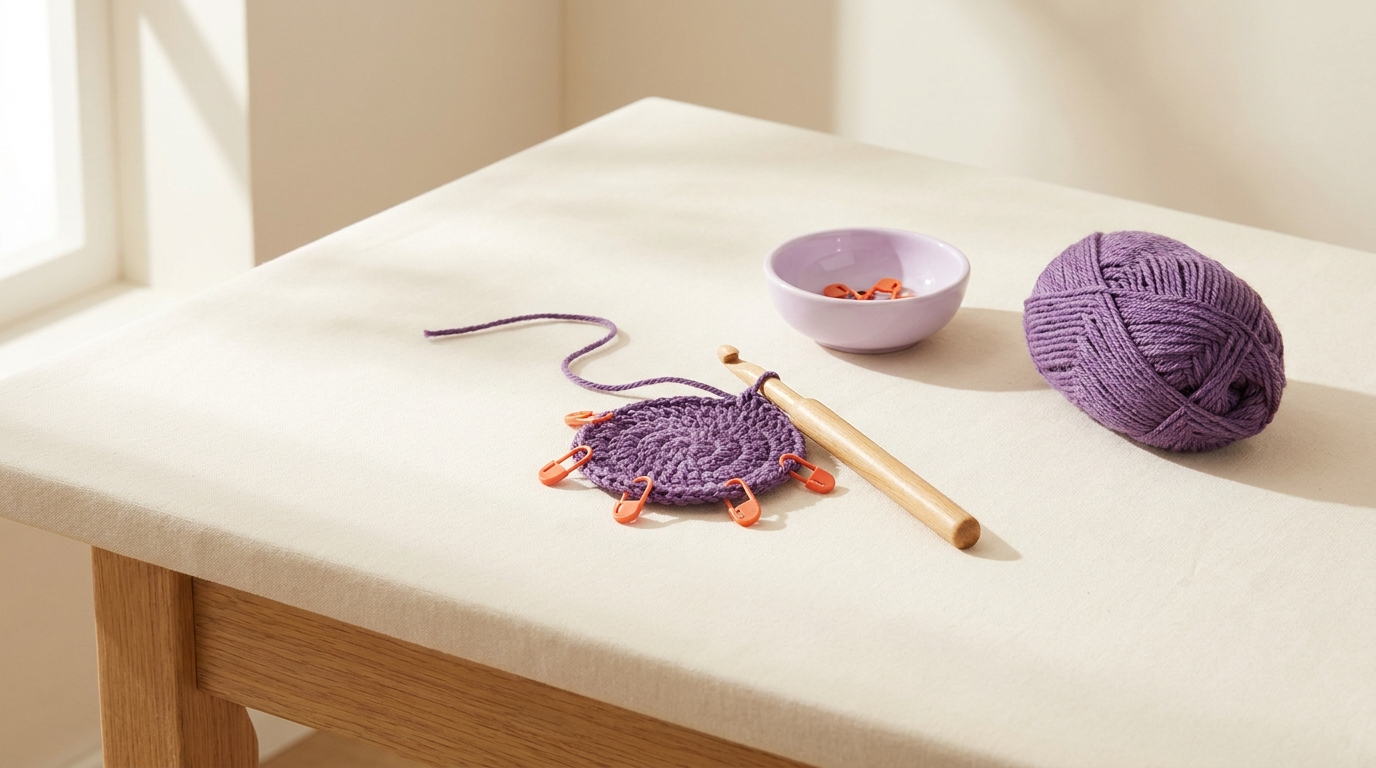
Stitch markers mark important spots in your crochet so you can track the start of a round, edges, increases, decreases and other reference points without constant recounting. Used this way, they reduce mistakes and save time Stitch marker (crochet) on Wikipedia.
What stitch markers do in practice
Common uses include: marking the first stitch in a spiral round, flagging where to increase or decrease, defining the first or last stitch of a row, and holding the working loop when you pause to help prevent accidental unraveling PlanetJune on amigurumi stitch markers; The Woobles: how to use a stitch marker. Some patterns also ask you to leave markers in place to show attachment points for assembly Wikipedia: stitch marker (crochet).
Choose the right kind
Use locking or split-style markers for crochet
For crochet, pick markers that open and close (locking, split-ring or coilless styles) so you can clip them onto a completed stitch and move them up as you work. Closed ring markers intended for knitting needles don’t attach to existing crochet stitches and aren’t suitable here PlanetJune on marker types; Wikipedia: stitch marker (crochet).
If you’re improvising, a scrap of contrasting yarn works, and many crafters also use coilless safety pins or paper clips. Be gentle with metal pins to avoid splitting yarn strands PlanetJune on alternatives; The Woobles on alternatives.
Where and how to place them
Continuous rounds (amigurumi and spiral work)
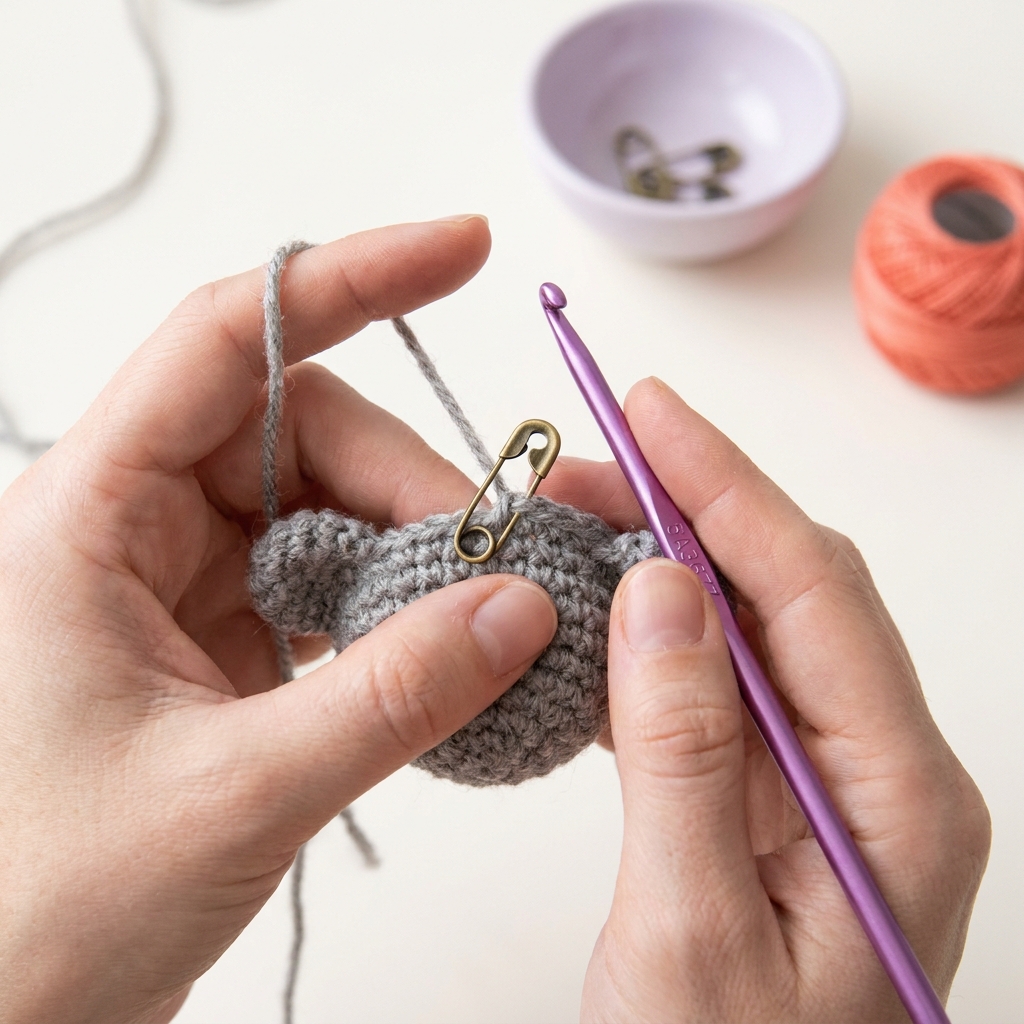
Mark the first stitch of the round by inserting the marker under both top loops (the “V” at the top) of that stitch. Crochet the round. When the marked first stitch is next to be worked again, the current round is complete. Remove the marker, make the first stitch of the new round, and mark that newly completed stitch. Repeat at the same point each round. This gives you a fixed starting point for counting and helps you spot a mistake if you overshoot or stop short of the marker PlanetJune on marking the first stitch; The Woobles step-by-step.
Rows, edges and repeats
On flat pieces, clip a marker to the first or last stitch of the row to keep edges straight over many rows. You can also drop markers at the start and end of a repeat section to avoid recounting repeats across the row The Woobles on marking rows and repeats; Wikipedia: stitch marker (crochet).
Assembly points and the working loop
Leave markers in place where a pattern indicates attachment points so parts line up during seaming Wikipedia: stitch marker (crochet). When you pause, remove the hook and lock a marker through the working loop, then snug the loop closed around it to prevent unraveling PlanetJune on securing the working loop.
A short worked example: tracking a spiral
Work your first round as your pattern directs. After you make the first stitch of round 1, clip a locking marker under both top loops of that stitch. Continue crocheting the round. When you reach the stitch before the marker, stop, count the stitches in the round starting at the marked one and confirm the total matches your pattern. Remove the marker, work the first stitch of round 2, and then place the marker in that new stitch before continuing. If you reach the marker early or pass it unexpectedly, you know this round has an error to fix before moving on PlanetJune on counting and error-catching; The Woobles on round counting.
Common mistakes and quick fixes
- Using closed rings. Swap closed knitting rings for locking/split markers so you can clip to finished stitches and move them as you go Wikipedia: stitch marker (crochet).
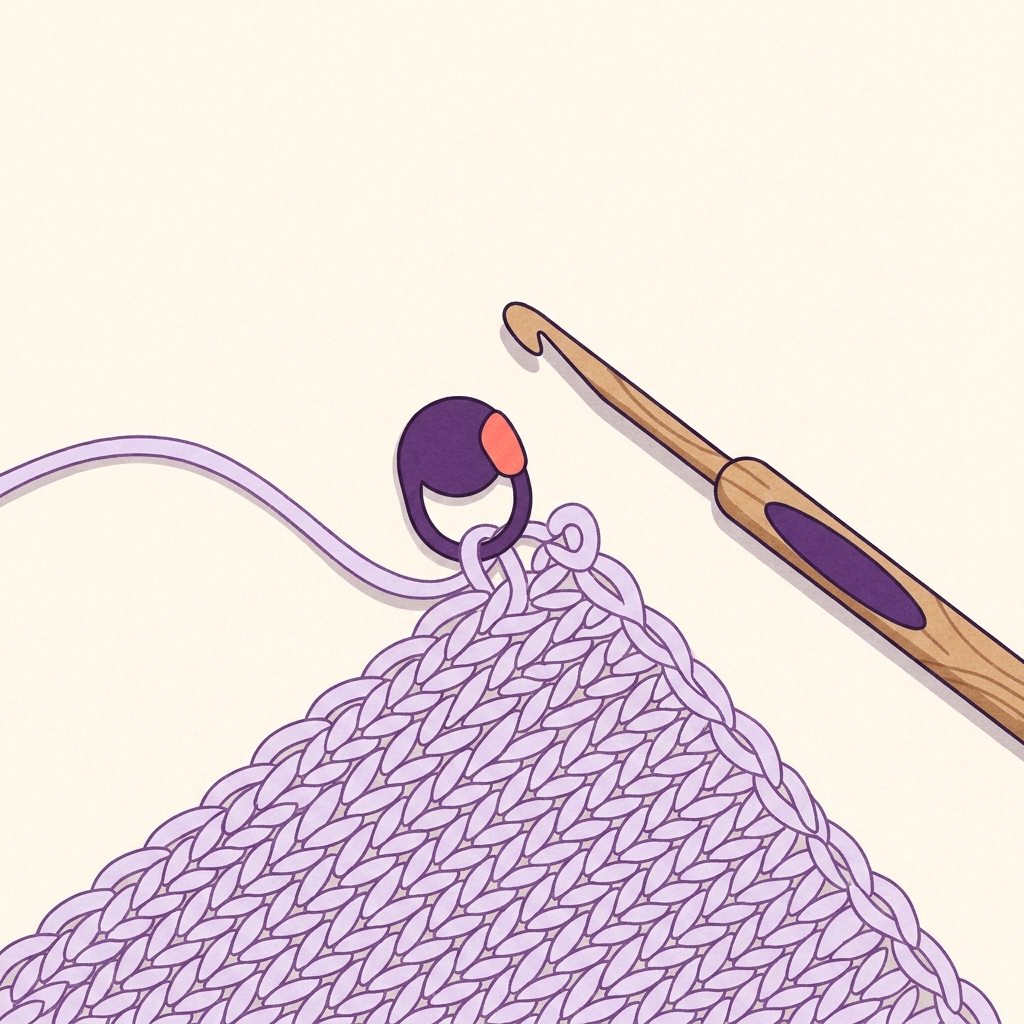
- Putting the marker through the wrong place. Insert it under both top loops of the completed stitch you want to mark, not the working loop on your hook PlanetJune on where to insert.
- Forgetting to move the start-of-round marker. After making the first stitch of the new round, move the marker into that completed stitch; you don’t need to lock it unless you’re setting the work down PlanetJune on when to lock.
Use stitch markers to stop recounting
Related reading
Finishing improves the look of any crochet. If you’re at that stage, see our guides on whether blocking changes crochet size and how to block without a board.
FAQ
Do I need a marker for every round?
It is useful to keep one in the first stitch and move it each round, especially while learning. A contrasting yarn marker is another option; the pattern may also specify a different marking method PlanetJune on marking every round.
Can I crochet without buying markers?
Yes. Use a short scrap of contrasting yarn or a coilless safety pin in a pinch, taking care not to split the yarn The Woobles on alternatives; PlanetJune on alternatives.

Related guides
Optional equipment for this guide
Choose a marker that fits the job. A removable marker works in the fabric; a marker used on a knitting needle must also fit that needle.
As an Amazon Associate I earn from qualifying purchases. These are researched options, not hands-on test results. Check the exact size or model, current price and availability on Amazon.
| Product option | Fit and limits to check | Retailer |
|---|---|---|
| Product imageClover 353 locking stitch markers, 20-pack | Removable locking markers for the stitch or row positions in your pattern. Close the latch and choose a size that will not stretch the yarn. | View on Amazon |