
The journal
How wide to cut fabric for double‑fold bias tape
A clear rule with examples: cut strips at 4× the desired finished width for double‑fold bias tape, plus quick steps and a maker‑size tip.
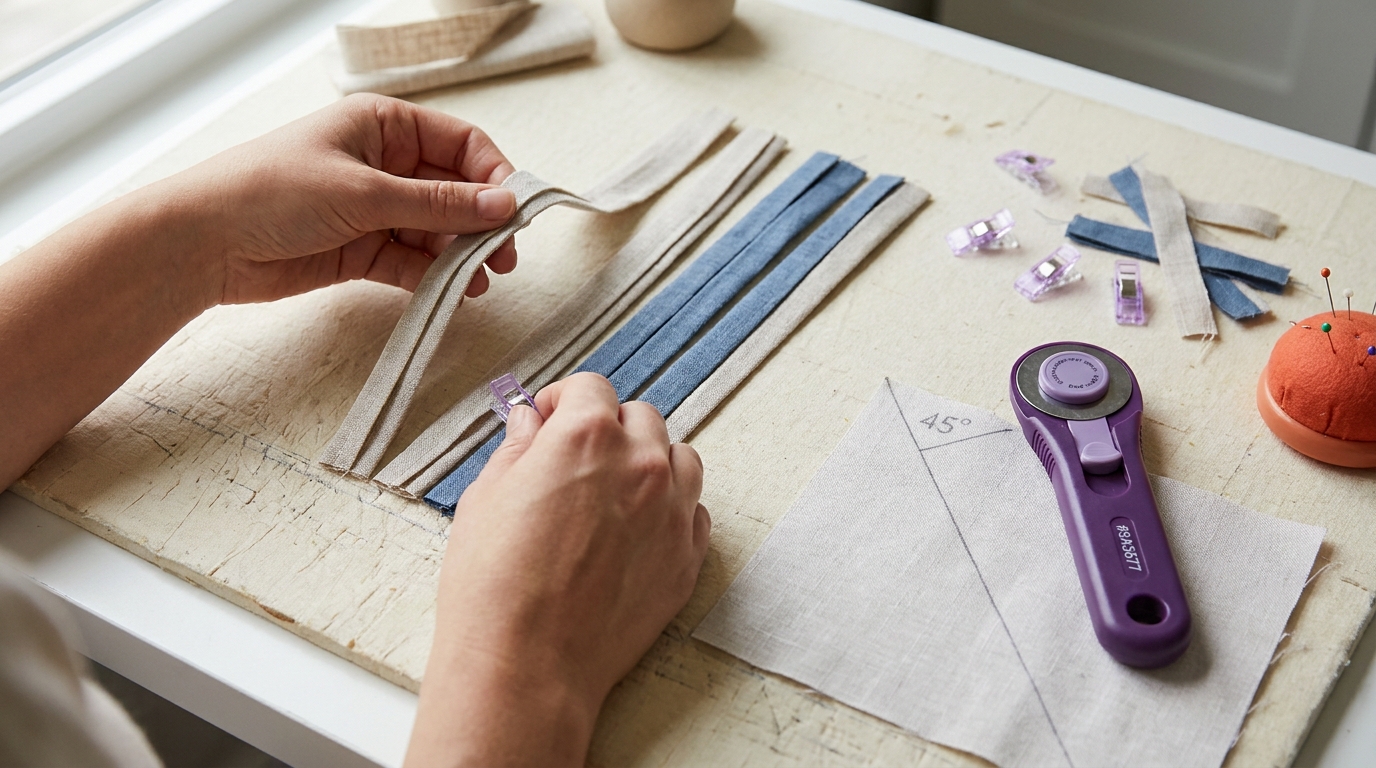
Cut your fabric strips four times the desired finished width for double-fold bias tape. For example, a 1/2 inch finished double-fold needs 2 inch-wide strips; a 3/8 inch finished double-fold needs 1.5 inch-wide strips (Seamwork: How to Make Bias Tape; Closet Core Patterns: How to Sew Double-Fold Bias Tape).
Single fold vs double fold: what the width refers to
Double-fold bias tape is single-fold tape pressed in half again. The 4× rule works because the final fold halves the already single-folded tape. By contrast, single-fold bias tape starts from strips cut at 2× the desired finished width (Seamwork: How to Make Bias Tape). Pre-made sizes you’ll see include 3/8 inch and 1/2 inch finished double-fold (Closet Core Patterns), and many notions aisles label standard double-fold around 1/4 inch with extra-wide at 1/2 inch (American Sewing Guild: Bias Tape Basics).
Worked examples you can copy
- Finished 1/4 inch double-fold → cut 1 inch strips (1/4 × 4)
- Finished 3/8 inch double-fold → cut 1.5 inch strips (3/8 × 4)
- Finished 1/2 inch double-fold → cut 2 inch strips (1/2 × 4)
These pairings match common garment and quilt binding sizes (Closet Core Patterns; American Sewing Guild).
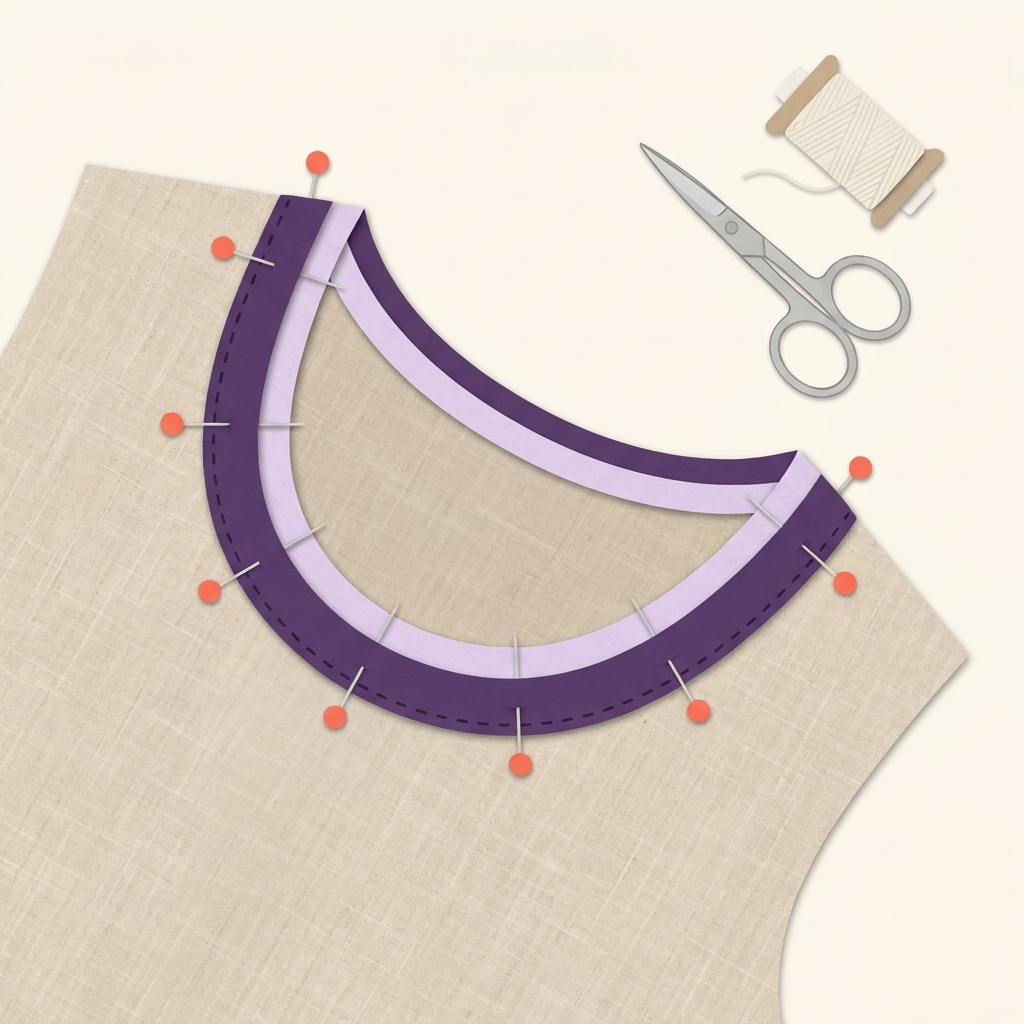
Cut and press: the short, reliable sequence
1) Cut on the true bias for curves
For edges that curve, cut strips at 45 degrees to the grain (true bias) so the tape eases smoothly. If you’re new to grainlines and bias, our explainer can help: What does fabric grain mean? (Seamwork).
2) Join and press to single fold
Sew strip joins diagonally, press seams open, then press both long raw edges toward the center to make single-fold tape. A bias-tape maker speeds this and keeps widths even (Seamwork).
3) Press to double fold
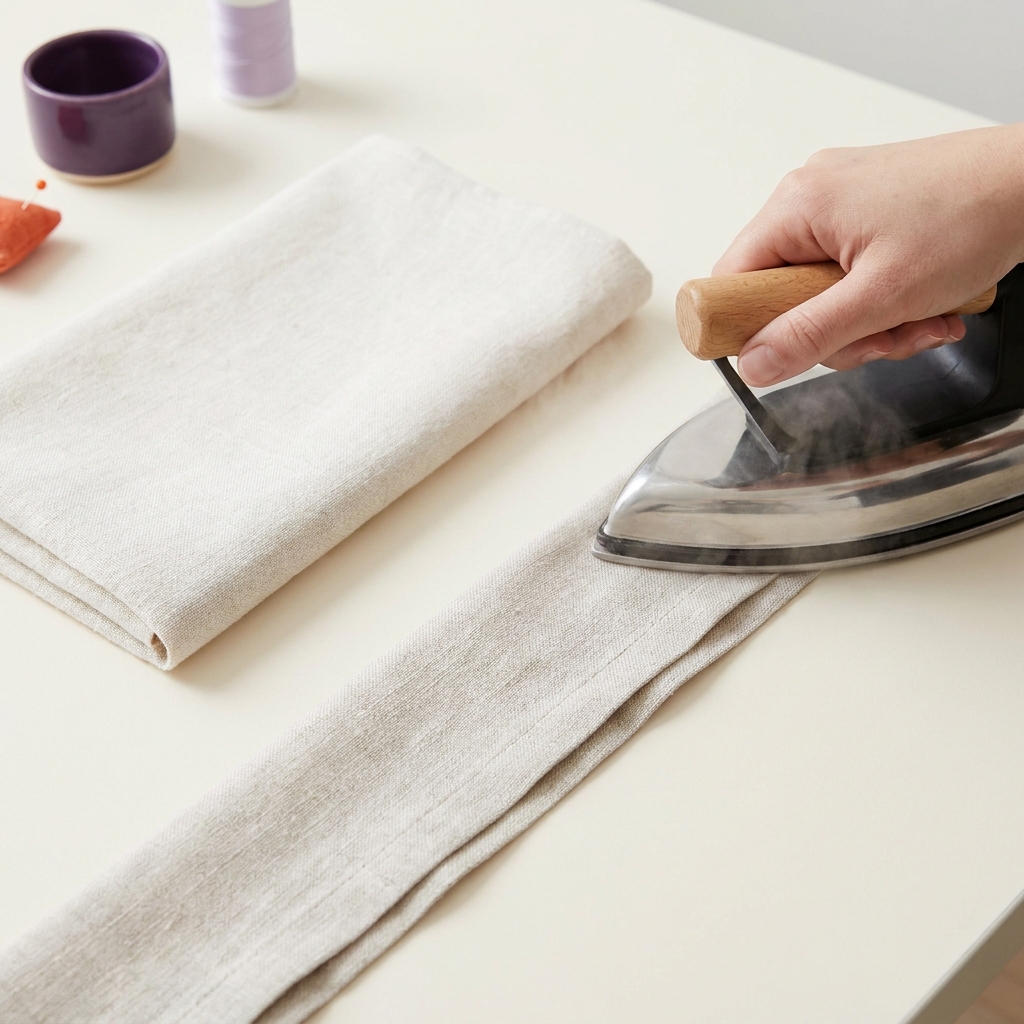
Fold the single-fold strip in half lengthwise and press. Use a pressing cloth if your fabric shows shine; see our quick guide: Should a pressing cloth be wet or dry?
Choosing a bias‑tape maker size
Bias‑tape makers are labeled by the single‑fold width they produce. To get a given finished double‑fold width, choose a maker that equals the single‑fold width (which is half your cut strip). Example: for 1/2 inch finished double‑fold, cut 2 inch strips and run them through a 1 inch (25 mm) maker to create 1 inch single‑fold before the final half‑fold (Whipstitch: Bias Tape Makers & Measurements).
Quick comparison: single‑fold vs double‑fold math
- Single‑fold desired width → cut 2× that width.
- Double‑fold desired width → cut 4× that width.
Example: a 1/2 inch single‑fold facing uses 1 inch strips; a 1/2 inch double‑fold binding uses 2 inch strips (Seamwork).
Before you cut: size and test checklist
Why testing helps
Pressing technique and fabric thickness can nudge widths narrower or wider. Make a short sample first, then adjust your cut width or pressing to lock in the target size (Closet Core Patterns).
FAQ
Do some tools need a different cut width than the 4× rule?
Most hand‑pressed or maker‑pressed double‑fold works with 4×, but some tools provide a cut‑width chart. If a manufacturer chart differs, follow it and test a short length first (Whipstitch).
What finished widths are commonly offered pre‑made?
You’ll frequently see 3/8 inch and 1/2 inch finished double‑fold in garment and quilt tutorials (Closet Core Patterns). Many packaged notions also label a standard double‑fold near 1/4 inch and an extra‑wide at 1/2 inch (American Sewing Guild).

Related guides
Optional equipment for this guide
If you use a rotary cutter, pair it with a suitable cutting mat and ruler. Scissors and careful marking remain an option.
As an Amazon Associate I earn from qualifying purchases. These are researched options, not hands-on test results. Check the exact size or model, current price and availability on Amazon.
| Product option | Fit and limits to check | Retailer |
|---|---|---|
| Product imageOLFA RTY-2/DX 45 mm rotary cutter | A 45 mm rotary cutter for cutting the measured bias strips on an appropriate mat. Keep fingers clear, close the blade when not cutting, and check the ruler and strip width. | View on Amazon |
| Product imageFiskars 18 × 24-inch cutting mat, Gray | A cutting mat for protecting the work surface during rotary cutting. Its 18 × 24-inch area limits the cut length; reposition safely rather than cutting beyond its edge. | View on Amazon |