
The journal
What is double-fold bias tape used for?
A clear answer to what double-fold bias tape is used for, how it differs from single-fold, where it shines, and two dependable application methods with a short worked example.
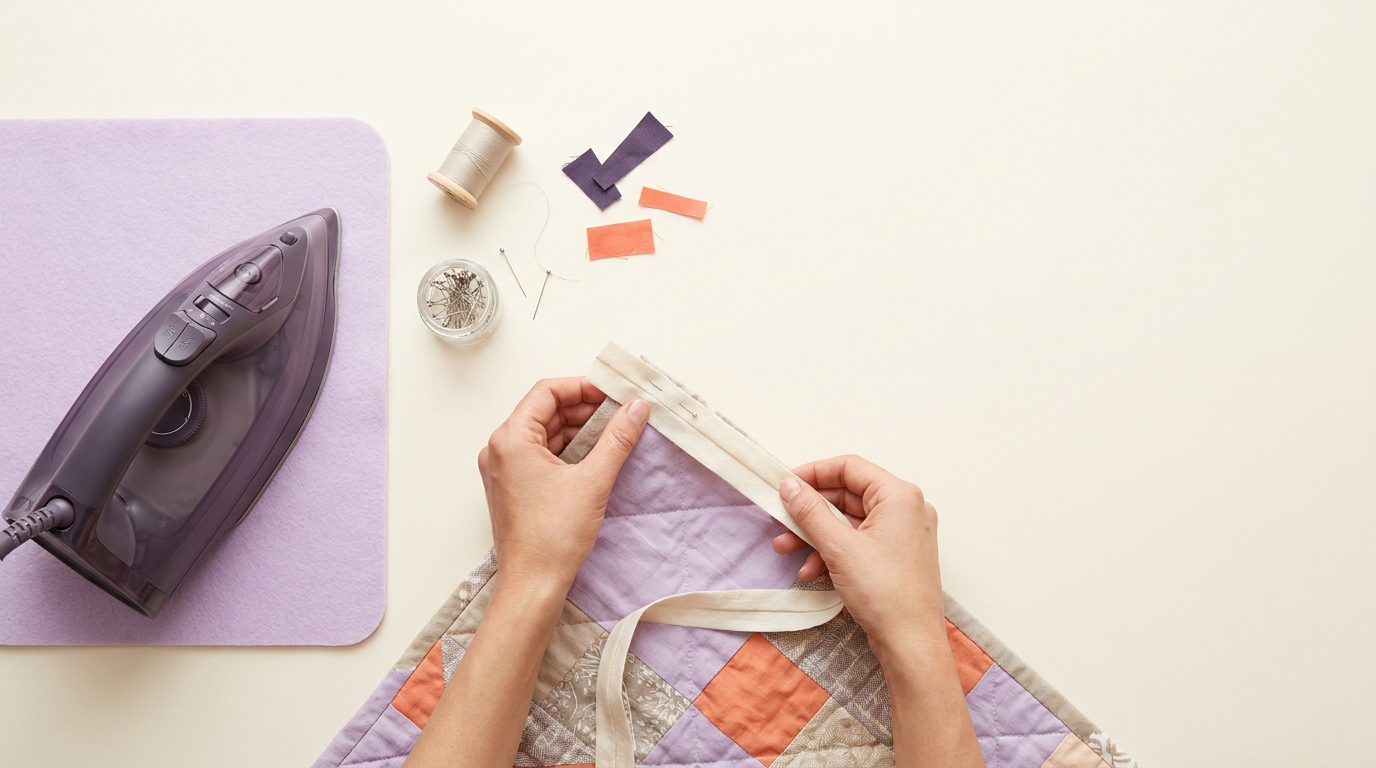
Double-fold bias tape is used to bind and fully enclose raw edges where the finish will be visible from both sides, such as quilt edges, aprons, ties and exposed garment edges. Because it is cut on the bias, it flexes to go around curves smoothly and can follow curved edges when the width, fabric and application method suit the curve Bias Tape Basics.
Double-fold vs single-fold: what to choose and why
Double-fold bias tape starts as single-fold tape and is pressed in half again. It typically encases the edge on both sides, so the binding shows on the front and back. Single-fold tape, by contrast, is often used as a facing or trim that turns to one side and is visible on just one face of the edge How to Make Bias Tape; Bias Tape Basics.
In practice, choose double-fold when you want a durable, decorative edge that reads from both sides. Choose single-fold when you want a cleaner inside finish (for example as a bias facing) or need to minimize bulk. If you want a refresher on facings, see our explainer What does facing mean in sewing?
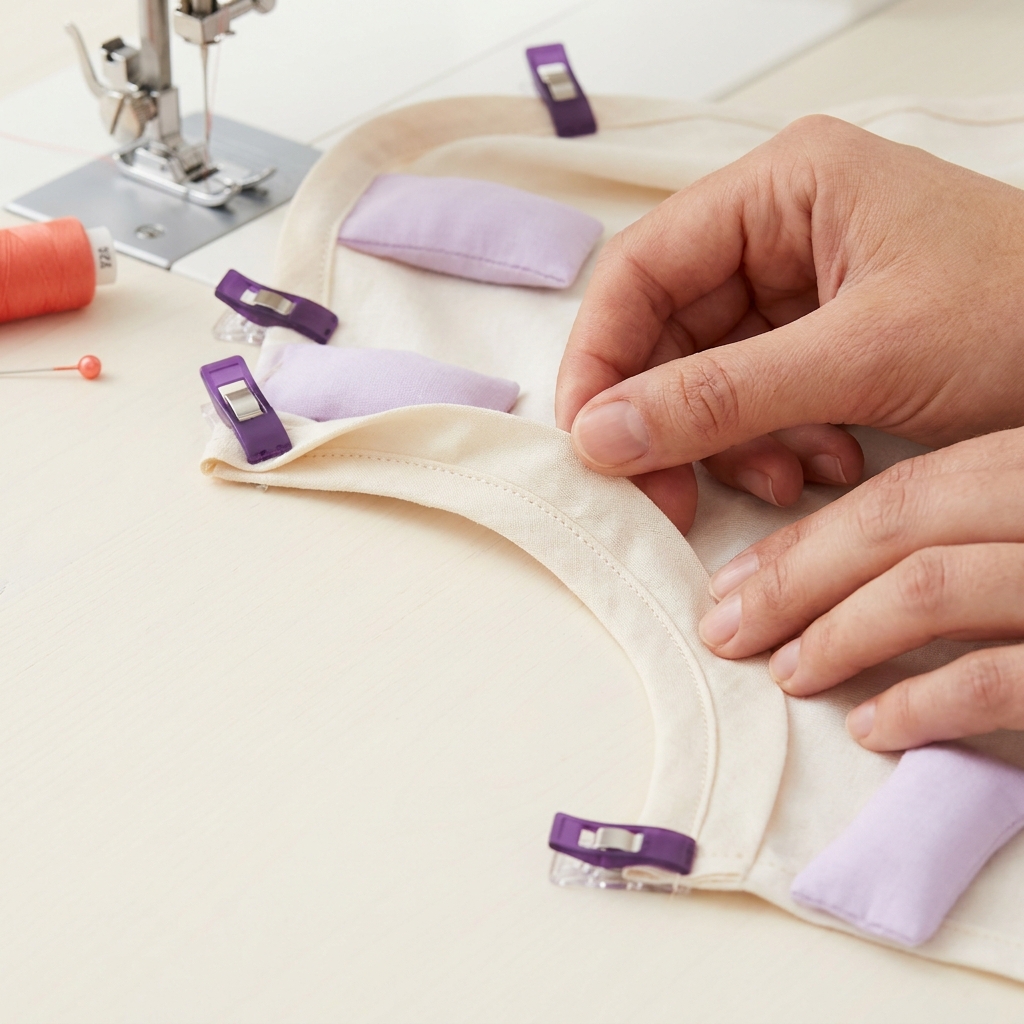
Where double-fold bias tape shines
- Binding quilts, fleece blankets and pot holders, especially in extra-wide double-fold widths suited to thicker layers Bias Tape Basics.
- Finishing aprons, placemats and bag openings where both sides are seen Bias Tape Basics.
- Binding seam allowances in unlined garments for a neat interior. A traditional Hong Kong finish usually uses a different bias-strip treatment with its inner edge left unfolded, so follow that method if the pattern specifies it Bias Tape Basics.
- Making straps and ties with a tidy, enclosed edge Bias Tape Basics.
How to apply double-fold bias tape: two reliable methods
Most packaged double-fold bias tape is pressed so one side is slightly wider; place the narrower side on top and the wider side underneath to help ensure the underside is caught in your stitching Bias Tape Basics; Working with 1/4" double-fold bias.
Method 1: Stitch and flip (cleanest)
- Open the tape and align the narrow side to the garment edge, right sides together. Stitch in the crease.
- Wrap the tape over the raw edge to the underside (the slightly wider side), press, then stitch in the ditch from the right side, or hand-sew invisibly Bias Tape Basics.
Method 2: Encase and stitch (quickest)
- Keep the tape folded and slide the fabric edge between the folds.
- With the narrow side on top, stitch close to the inner edge from the right side so the wider back is securely caught Bias Tape Basics.
Tip: Pre-press the tape into gentle curves before sewing and work in short sections to avoid stretching it out of shape on tight curves Bias Tape Basics.
Worked example: a 1/2 inch finished binding
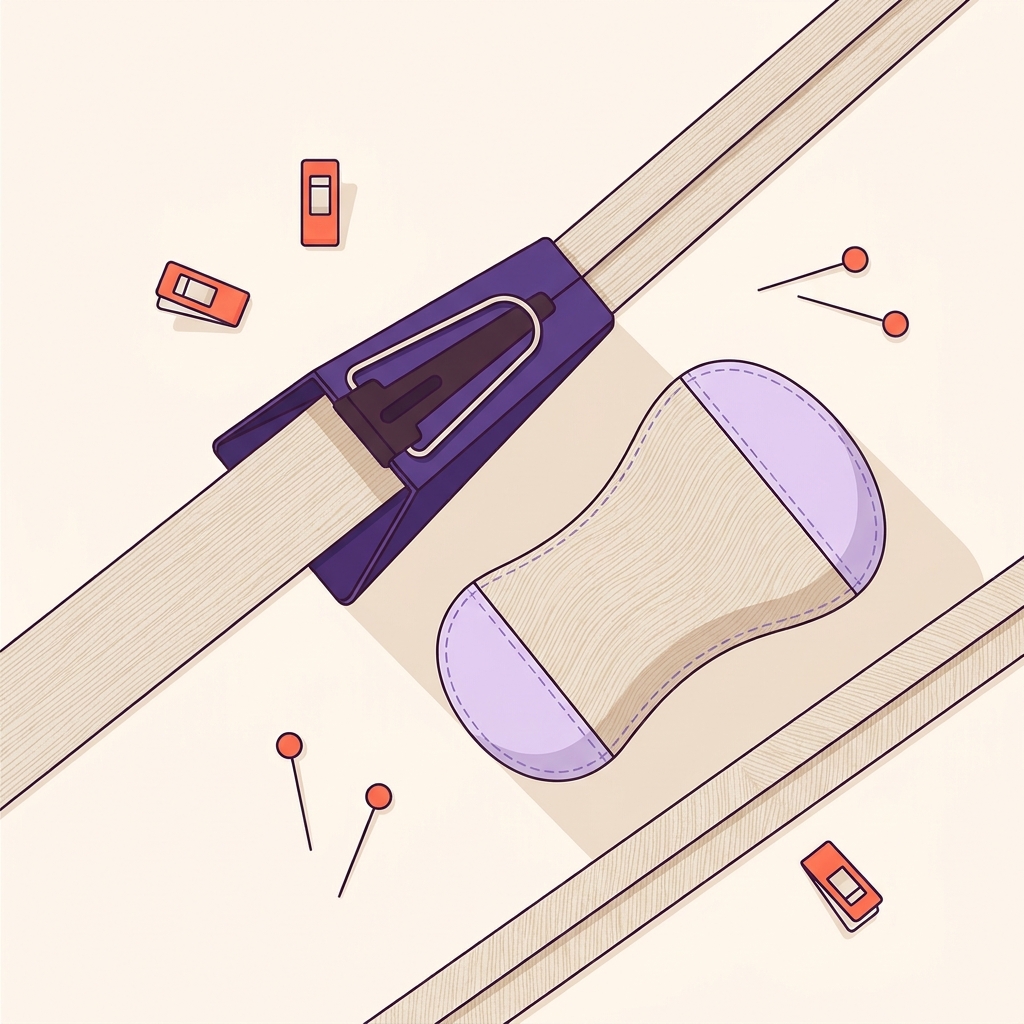
To make and use a common 1/2 inch finished double-fold binding, cut 2 inch wide bias strips, join them diagonally, press the long edges in with a bias maker for single-fold, then press in half again to create double-fold. Apply by either method above How to Make Bias Tape. If you are machine-securing from the top, consider a neat row of topstitching; our primer explains stitch placement and control in What is topstitch sewing?
Limits and when single-fold is better
- Bulk: Double-fold adds layers. On very thick fabrics or tight areas, a single-fold bias facing turned to the inside can reduce bulk and keep edges flat Bias Tape Basics.
- Visibility: If you want no binding to show on the outside, use a single-fold facing or a traditional facing piece instead of a double-fold binding Bias Tape Basics.
Quick fixes for common problems
- Puckers on curves: Ease the tape without stretching it, press into shape first, and test an appropriate stitch length on a scrap rather than changing it by a fixed amount. Re-press if ripples appear Bias Tape Basics.
- Missed the back fold: Make sure the slightly wider side sits underneath and stitch from the top close to the inner fold so both layers are caught Bias Tape Basics; Working with 1/4" double-fold bias.
- Lumpy joins: Join bias strips on the diagonal and press seams open before folding to keep thickness even along the binding How to Make Bias Tape.
Before you bind with double-fold bias tape
FAQ
Should I buy premade tape or make my own?
Premade bias tape comes in multiple widths and finishes and is convenient. Making your own lets you match weight and print and is straightforward with a bias tape maker Bias Tape Basics; How to Make Bias Tape.
Why does my tape have one side slightly wider?
Double-fold tape is pressed so the back is a little wider. Keep that side underneath so your stitching from the right side reliably catches the back fold Bias Tape Basics; Working with 1/4" double-fold bias.

Related guides
Optional equipment for this guide
Making tape is optional; ready-made tape may suit the project. Check whether a tool’s quoted width is single-fold rather than the final double-fold size.
As an Amazon Associate I earn from qualifying purchases. These are researched options, not hands-on test results. Check the exact size or model, current price and availability on Amazon.
| Product option | Fit and limits to check | Retailer |
|---|---|---|
| Product imageClover 18 mm bias tape maker | The 18 mm tool forms single-fold tape about 18 mm wide. Fold it again for approximately 9 mm double-fold binding; choose another tool size for another finished width. | View on Amazon |